 Pin It
 Create authentic Thai-style coconut milk ice cream at home with just 15 minutes of prep. This dairy-free dessert combines full-fat coconut milk and cream for an incredibly rich, creamy texture. The base comes together quickly on the stovetop, requiring only constant stirring to dissolve the sugar without boiling. After chilling for a few hours, churn in your ice cream maker for 20-25 minutes until soft-serve consistency forms.
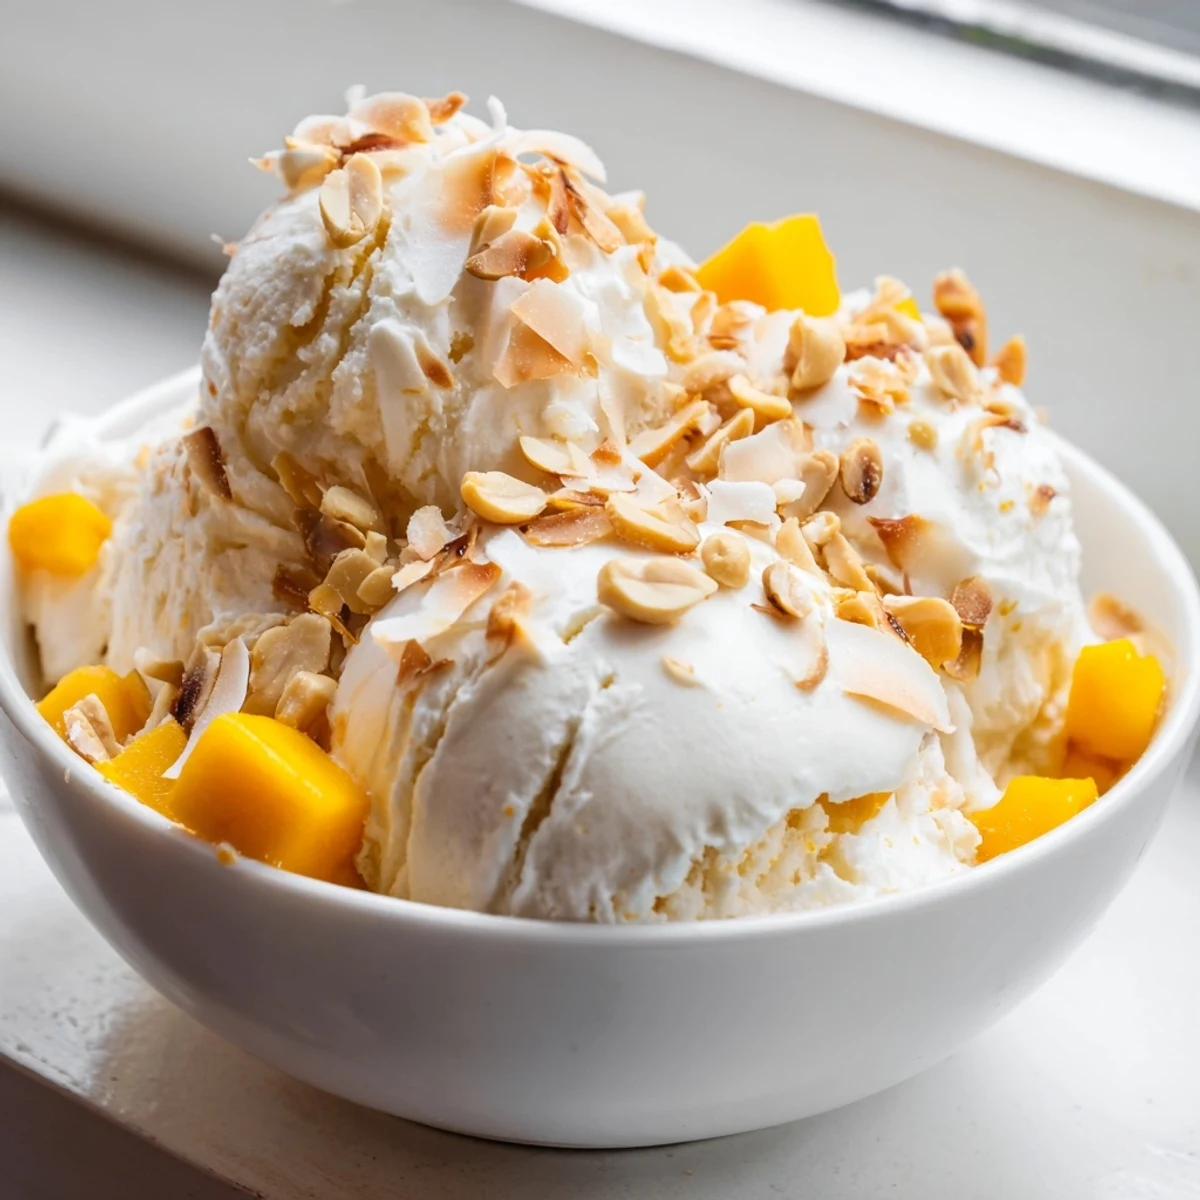
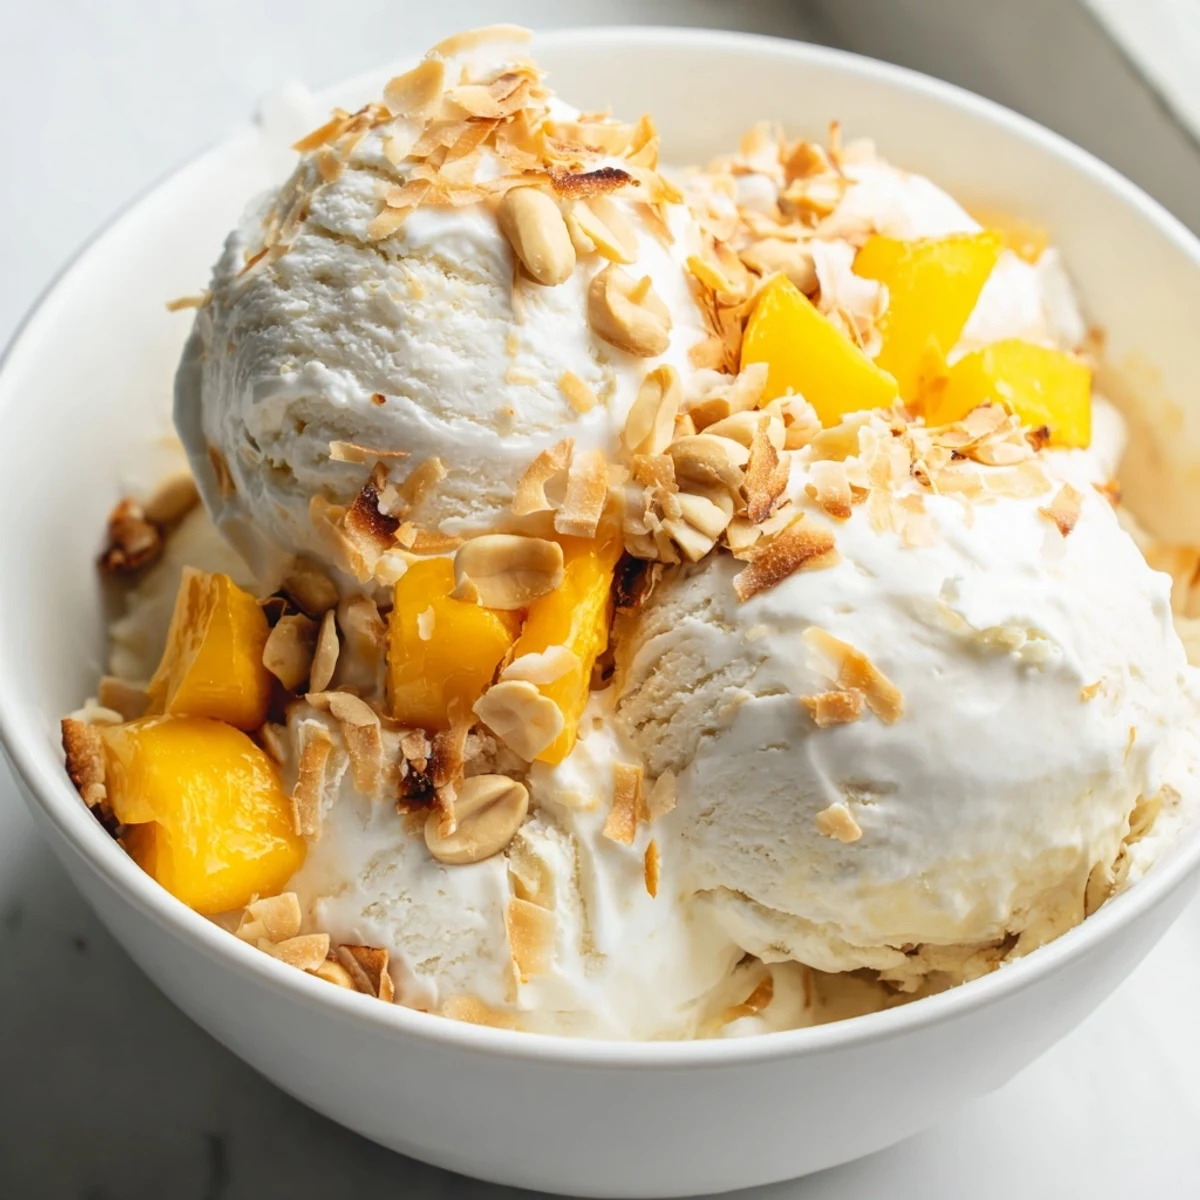
Customize with toasted coconut flakes, chopped roasted peanuts, or diced ripe mango for added texture and flavor. The finished dessert tastes remarkably similar to coconut ice cream found in Thai markets and street stalls. For the creamiest results, use high-quality full-fat coconut milk and let the mixture chill thoroughly before churning.
Standing on a steamy Bangkok street corner at midnight, watching a vendor scoop mounds of coconut ice cream into fresh young coconut shells, I understood something essential about dessert. The balance of creamy richness against tropical humidity made perfect sense. Later that week, I found myself recreating that memory in my tiny kitchen, coconut milk bubbling on the stove while rain pattered against the window.
My first attempt involved skipping the chilling step because I was impatient, which resulted in icy crystals instead of silk. The second time, I let it chill overnight and the difference was shocking. Now I always tell friends to plan ahead, because the waiting is what transforms good coconut milk into something extraordinary.
Ingredients
- Full-fat coconut milk: The higher fat content is essential for that creamy texture that mimics dairy ice cream
- Coconut cream: This concentrated coconut goodness adds richness and prevents icy crystallization
- Granulated sugar: Don't reduce this amount as sugar also acts as a softening agent in frozen desserts
- Fine sea salt: Just enough to intensify the coconut flavor without making it taste salty
- Pure vanilla extract: Use the real thing since artificial vanilla can taste harsh in simple recipes
Instructions
- Warm the coconut base:
- Combine the coconut milk, coconut cream, sugar, and salt in your saucepan over medium heat, stirring until you see the last sugar crystals disappear. Watch carefully and remove it from heat as soon as everything dissolves, avoiding even a simmer.
- Add the vanilla:
- Let the mixture cool for about five minutes off the heat, then stir in the vanilla extract, which will bloom beautifully in the warm coconut base.
- Chill thoroughly:
- Cool the mixture to room temperature, then refrigerate it for at least two hours, though overnight is even better for the smoothest final texture.
- Churn to perfection:
- Freeze the chilled base in your ice cream maker until it reaches soft-serve consistency, typically twenty to twenty-five minutes depending on your machine.
 Pin It
 Last summer, I served this at a dinner party where two guests were dairy-free and three were skeptical of vegan desserts. Watching their expressions change after the first bite, seeing them go back for seconds, reminded me why I started experimenting with coconut in the first place. The bowl was empty before anyone even remembered to ask about ingredients.
Making It Without an Ice Cream Maker
Pour your chilled mixture into a shallow metal pan and freeze it for thirty minutes, then vigorously stir with a fork, breaking up any ice crystals that form along the edges. Repeat this stirring process every thirty minutes for about three hours. The texture will be slightly different but still deliciously creamy.
Choosing Your Coconut Products
Shake the cans at the store and listen for liquid splashing, which means the coconut milk hasn't separated. Some brands are naturally thicker than others, so you might need to experiment to find your favorite. Canned coconut products generally work better than carton versions meant for drinking.
Serving Suggestions and Storage
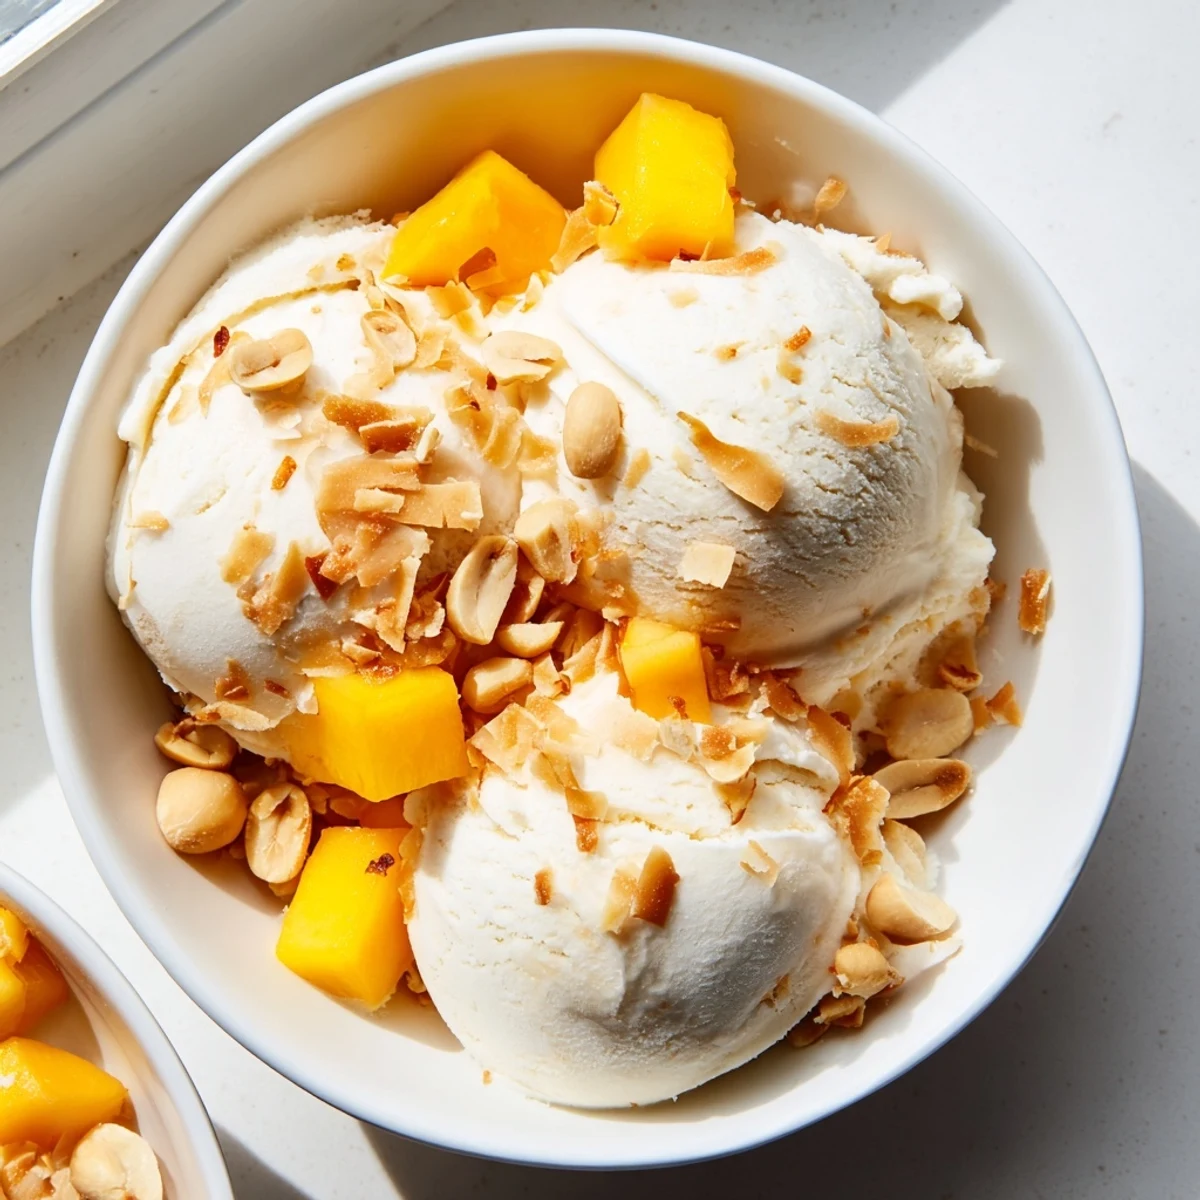
This ice cream is fantastic on its own but becomes something entirely different when served with warm sticky rice and fresh mango. For storing, press a piece of parchment paper directly against the surface before sealing to prevent ice crystals from forming. Homemade coconut ice cream keeps well for about two weeks though it rarely lasts that long in my house.
- Toast the coconut flakes in a dry pan until golden for deeper flavor
- Try adding a drop of pandan extract for authentic Thai complexity
- Warm your scoop in hot water between servings for perfect presentation
 Pin It
 There's something deeply satisfying about transforming a few cans of coconut milk into a dessert that feels like a special occasion. I hope this recipe brings a little tropical warmth to your kitchen, no matter the season.
Recipe Questions & Answers
- → Is this coconut milk ice cream actually dairy-free?
-
Yes, this coconut milk ice cream is completely dairy-free. It uses full-fat coconut milk and coconut cream as the base instead of traditional dairy ingredients. The natural fats in coconut create a rich, creamy texture that rivals dairy ice cream without any milk, cream, or butter.
- → Can I make this without an ice cream maker?
-
Absolutely. Pour the chilled mixture into a shallow freezer-safe dish and freeze. Every 30 minutes for the first 3 hours, remove and stir vigorously with a fork to break up ice crystals. This manual method creates a similar texture, though slightly less smooth than machine-churned.
- → How long does this keep in the freezer?
-
Properly stored in an airtight container, this coconut milk ice cream maintains best quality for 1-2 weeks. After that, ice crystals may form and texture becomes grainy. Let thaw 5-10 minutes before scooping for the creamiest consistency.
- → What makes this Thai-style coconut ice cream?
-
This version captures the essence of Thai street vendor coconut ice cream through the combination of coconut milk and coconut cream, plus optional traditional toppings like toasted coconut, peanuts, and fresh mango. The pure vanilla extract balances the rich coconut flavor authentically.
- → Can I reduce the sugar in this recipe?
-
You can reduce sugar to 1/2 cup, but keep in mind sugar affects texture along with sweetness. Less sugar may result in icier, harder frozen dessert. For best results, freeze for shorter periods and serve slightly softened if reducing sweetener.
- → What's the difference between coconut milk and coconut cream?
-
Coconut cream contains less water and more fat than coconut milk, making it thicker and richer. This recipe uses both for optimal creaminess and texture. You can substitute additional coconut cream for some milk if you prefer an even richer finished dessert.