 Pin It
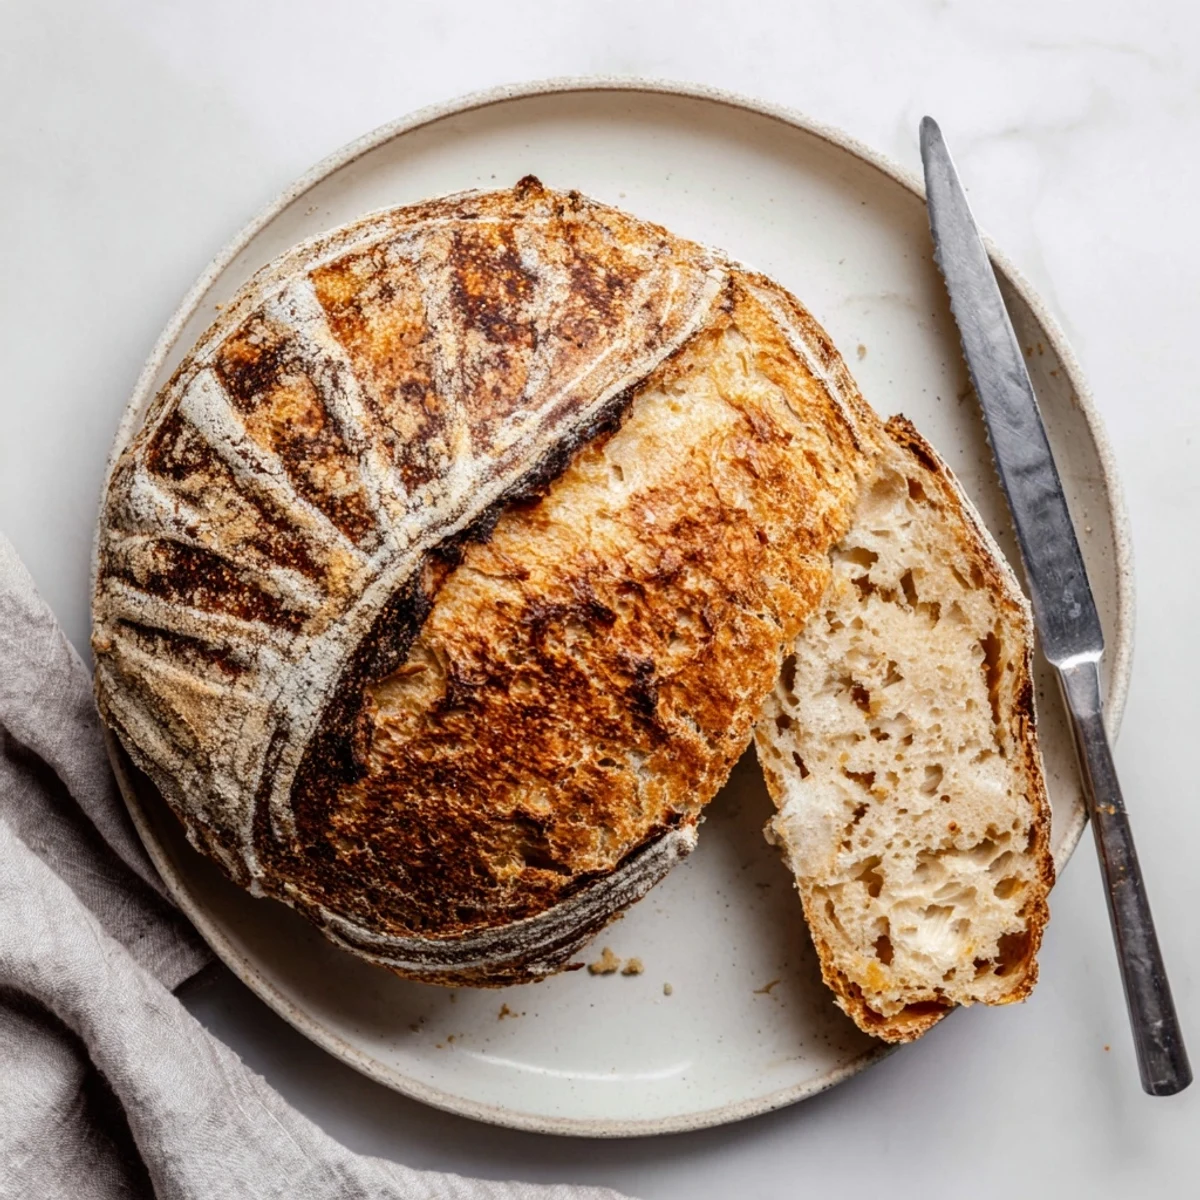
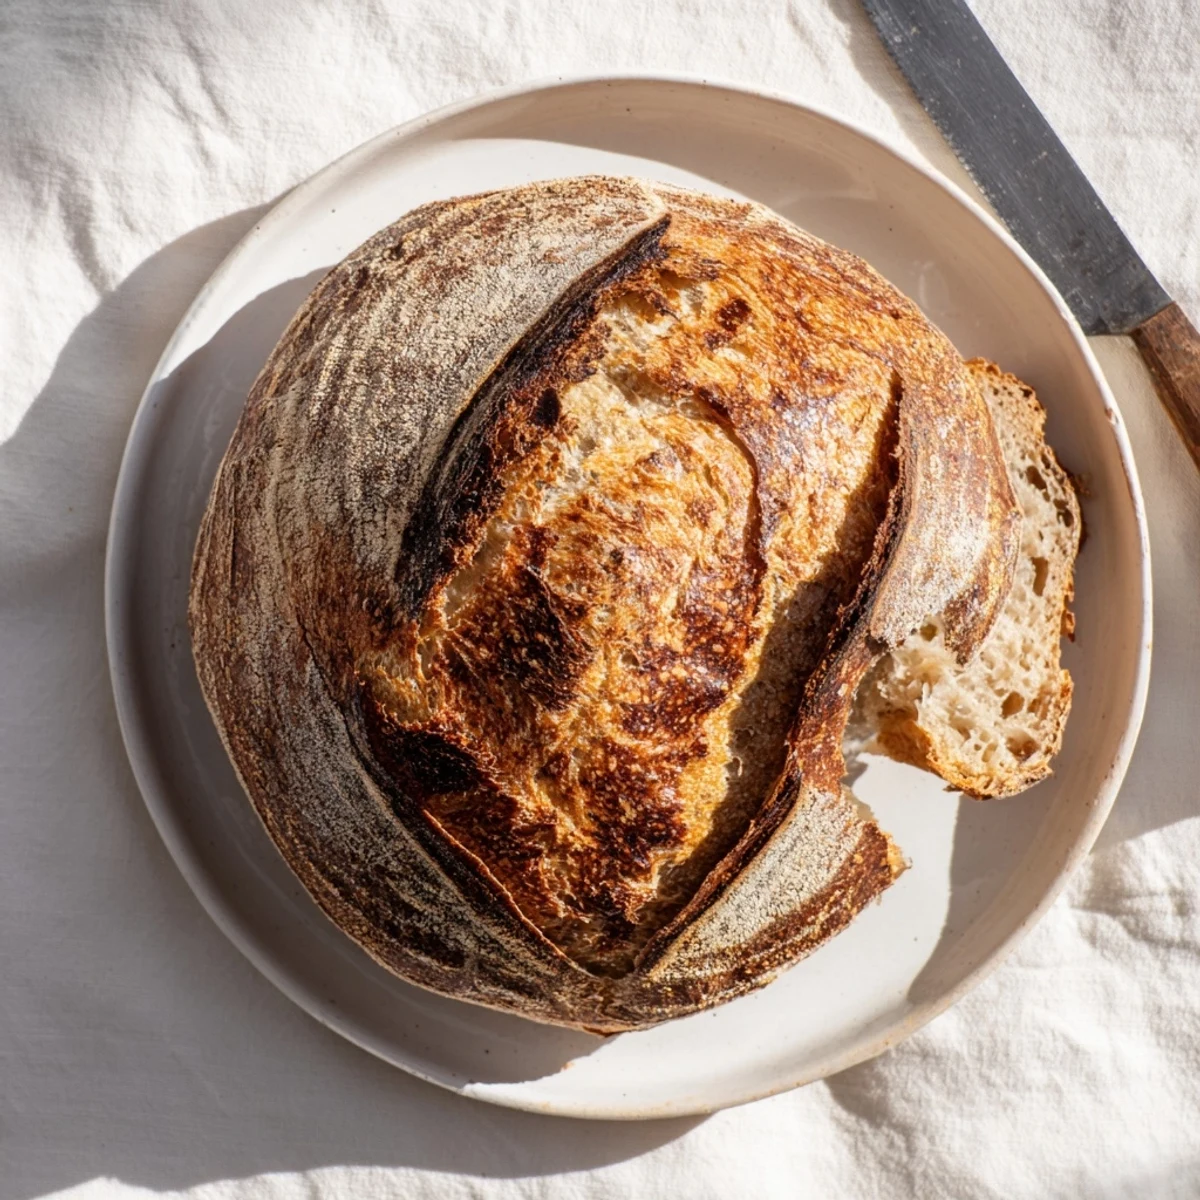
 Craft an authentic sourdough loaf using wild yeast starter for that distinctive tangy flavor and exceptional aroma. This artisan bread develops a beautifully crisp crust with an airy, chewy crumb structure that's perfect for toasting or enjoying fresh.
The process involves mixing high-quality bread flour with water and active starter, followed by a series of stretch-and-fold techniques to develop gluten strength. After room temperature fermentation, the dough undergoes cold proofing for enhanced complexity and easier handling.
Baking in a preheated Dutch oven creates steam, resulting in professional-style oven spring and a crackling golden crust. The extended fermentation process breaks down phytic acid, making nutrients more bioavailable while creating depth of flavor impossible to achieve with commercial yeast.
My first sourdough journey started during a quiet winter when I needed something to nurture. That starter became like a pet I checked on twice daily, and the first time I achieved those dramatic oven spring cracks, I actually cheered in my kitchen alone. The smell of baking sourdough now instantly transports me back to that snowy morning when everything clicked.
Last summer, my neighbor smelled the fresh bread through our open windows and knocked on my door with a block of butter. We sat on my porch eating warm slices, talking about how slow food brings people together in unexpected ways. Now she saves her butter specifically for bread day.
Ingredients
- 500 g bread flour: High protein flour creates the structure needed for those beautiful air pockets and chewy texture
- 350 g water: Room temperature water helps the wild yeast wake up and get to work immediately
- 100 g active sourdough starter: This is your living leavening agent, make sure it is bubbly and fed within the last 12 hours
- 10 g fine sea salt: Salt controls fermentation and deepens flavor, fine salt distributes more evenly than coarse
Instructions
- Mix and Rest:
- Combine flour and water in a large bowl until shaggy streaks disappear, then cover and let the flour hydrate for one hour
- Add Starter and Salt:
- Scrape in your active starter and sprinkle salt, then squeeze the dough with your hand until everything is incorporated and cohesive
- Stretch and Fold:
- Perform four sets of stretches every thirty minutes, grabbing one side of dough and pulling it up before folding over the center
- Bulk Fermentation:
- Cover the bowl and let it rise at room temperature until noticeably puffed and roughly doubled in size
- Shape the Loaf:
- Turn dough onto a lightly floured surface and fold edges toward the center to create surface tension, forming a tight round or oval
- Cold Proof:
- Place dough seam side up in a floured proofing basket, cover, and refrigerate overnight for improved flavor and easier scoring
- Preheat with Dutch Oven:
- Heat your oven to four hundred fifty degrees with your Dutch oven inside for at least thirty minutes
- Score and Bake:
- Invert dough onto parchment, slash the top with a sharp blade, then bake covered for twenty minutes before uncovering for twenty more minutes
 Pin It
 My sister now requests this bread for every family gathering, watching through the oven door as the crust turns that perfect deep golden. She says it tastes like patience and love combined, which is exactly what sourdough teaches us to appreciate.
Understanding Your Starter
A healthy starter should double in size within four to six hours of feeding. If yours is sluggish or smells off, try feeding it smaller amounts more frequently for a few days to wake up the wild yeast before attempting bread.
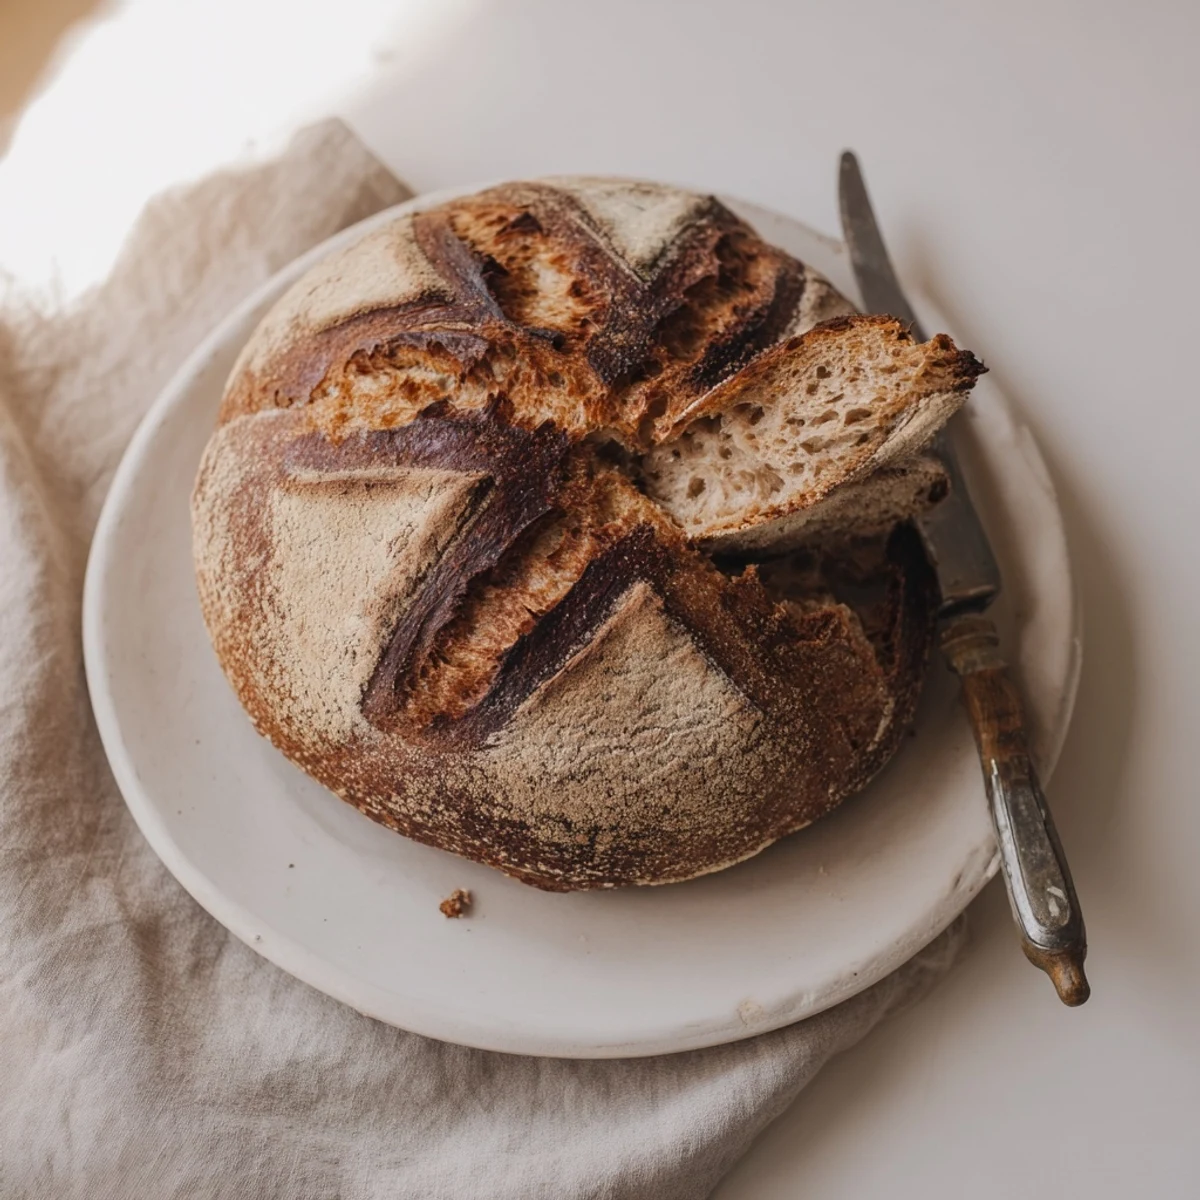
Mastering the Score
Your scoring blade should be at a shallow angle, almost parallel to the dough surface. A confident quick motion produces cleaner bursts than multiple tentative cuts, and the design can be as simple or artistic as you feel that day.
Storage and Refreshing
Homemade sourdough keeps remarkably well due to its natural fermentation and crisp crust. Store cut side down on a cutting board, or freeze slices wrapped individually for perfect toast in minutes.
- Revive day old bread with a quick sprinkle of water and ten minutes in a hot oven
- Stale sourdough makes exceptional French toast or bread pudding projects
- The crust softens in a paper bag but stays crispy if stored in the open air
 Pin It
 Every loaf teaches you something new, and even the ugly ones taste incredible with good butter. Happy baking, and may your oven spring always be dramatic.
Recipe Questions & Answers
- → What makes sourdough different from regular bread?
-
Sourdough uses wild yeast and beneficial bacteria naturally present in flour rather than commercial yeast. This slow fermentation creates distinctive tangy flavor, improves digestibility, and produces a crustier loaf with better keeping qualities.
- → How long does it take to make this loaf?
-
The entire process spans 13–19 hours, but active preparation time is only about 25 minutes. Most of the duration involves resting periods, fermentation, and cold proofing which develop flavor and texture without constant attention.
- → Can I bake this without a Dutch oven?
-
A Dutch oven creates ideal steam for crust development. Without one, place a metal tray on the bottom oven rack while preheating, then pour ice cubes into it immediately after loading the dough. Alternatively, use a cloche or cover the loaf with a stainless steel bowl.
- → How do I know if my starter is active enough?
-
A healthy starter should double in size within 4–8 hours after feeding. It should have plenty of bubbles on the surface and throughout, pass the float test (a small spoonful floats in water), and have a pleasant slightly sour aroma.
- → Why is cold fermentation recommended?
-
Refrigerating the shaped dough for 8–12 hours slows fermentation, developing deeper flavor complexity. The cold also firms the gluten structure, making the dough easier to handle and score while improving oven spring during baking.
- → Can I substitute different flours?
-
You can replace up to 20% of the bread flour with whole wheat, rye, or spelt flour for added flavor and nutrition. Higher substitutions may require adjusting hydration levels since whole grain flours absorb more water than white flour.