 Pin It
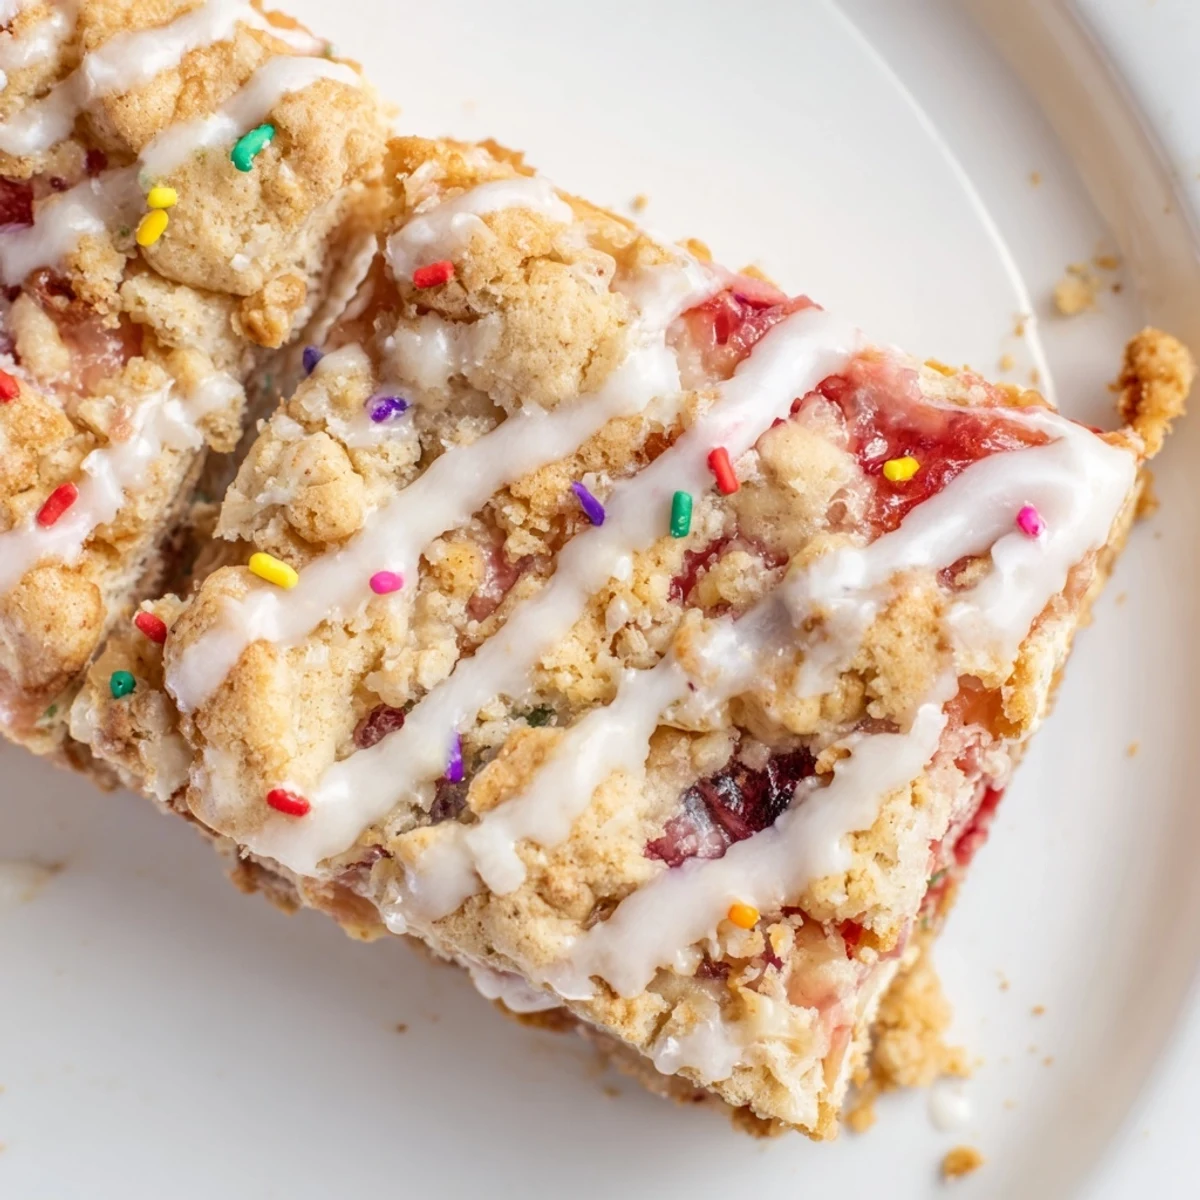
 These nostalgic bars capture the essence of classic toaster pastries with a soft, buttery sugar cookie base instead of flaky pastry. The dough comes together quickly with basic pantry ingredients, then gets layered with sweet strawberry jam before being topped with crumbled cookie bits for that signature poptart texture. A simple vanilla glaze adds sweetness while colorful sprinkles bring the fun factor. These bars are perfect for bake sales, potlucks, or anytime you want a dessert that feels like childhood. Swap out the jam flavor to customize, or try different sprinkle combinations for holidays and special occasions.
The smell of strawberry jam bubbling in the oven takes me back to Saturday mornings when my brother and I would argue over who got the last frosted pop tart. These bars started as an experiment to recreate that childhood memory but with the soft chew of a fresh baked cookie instead of the crunchy toaster pastry texture. My kitchen smelled exactly like those weekend mornings while these were baking.
I brought these to a friend's birthday picnic last summer and watched them disappear in minutes. Someone asked if I could make them again for their wedding shower and now they're my most requested bake for gatherings. There is something universally comforting about that jam and cookie combination that makes people smile.
Ingredients
- Unsalted butter: Room temperature butter incorporates properly into the sugar creating that tender cookie base we want
- Granulated sugar: Sweetens the dough while helping the edges crisp up beautifully in the oven
- Large eggs: Bind everything together and add structure to the cookie layer
- Vanilla extract: Use the good stuff here since it shines through in every bite
- All-purpose flour: Forms the foundation of the cookie base with just the right amount of chew
- Baking powder: Gives the dough a subtle lift so it is not too dense
- Salt: Balances all that sugar and jam sweetness
- Strawberry jam: Pick a high quality jam with real fruit pieces for the best texture and flavor
- Powdered sugar: Creates the smooth pourable glaze that makes these feel festive
- Milk: Thins the glaze just enough so it drizzles beautifully
- Sprinkles: Add them immediately after glazing or they will not stick properly
Instructions
- Preheat and prep your pan:
- Heat your oven to 350°F and line a 9x13-inch pan with parchment paper letting the ends hang over the sides like handles
- Cream the butter and sugar:
- Beat the softened butter and granulated sugar together until the mixture turns pale and fluffy which takes about 3 minutes
- Add eggs and vanilla:
- Beat in the eggs one at a time then pour in the vanilla extract scraping down the bowl to ensure everything is combined
- Whisk the dry ingredients:
- In a separate bowl stir together the flour baking powder and salt so they are evenly distributed
- Combine the dough:
- Gradually mix the dry ingredients into the wet ones stopping as soon as no flour streaks remain
- Press in the base layer:
- Take about two thirds of the dough and press it evenly into the bottom of your prepared pan using your hands or the back of a measuring cup
- Spread the jam:
- Dollop the strawberry jam over the dough and use an offset spatula to spread it almost to the edges leaving just a small border
- Add the topping:
- Crumble the remaining dough over the jam in irregular pieces then press very gently so it stays in place
- Bake until golden:
- Bake for 23 to 27 minutes until the edges are lightly golden and the center no longer looks wet or jiggly
- Let cool completely:
- Cool the bars in the pan on a wire rack for at least an hour because warm bars will melt the glaze right off
- Make the glaze:
- Whisk together the powdered sugar milk and vanilla until the mixture is smooth and drips slowly off the whisk
- Glaze and sprinkle:
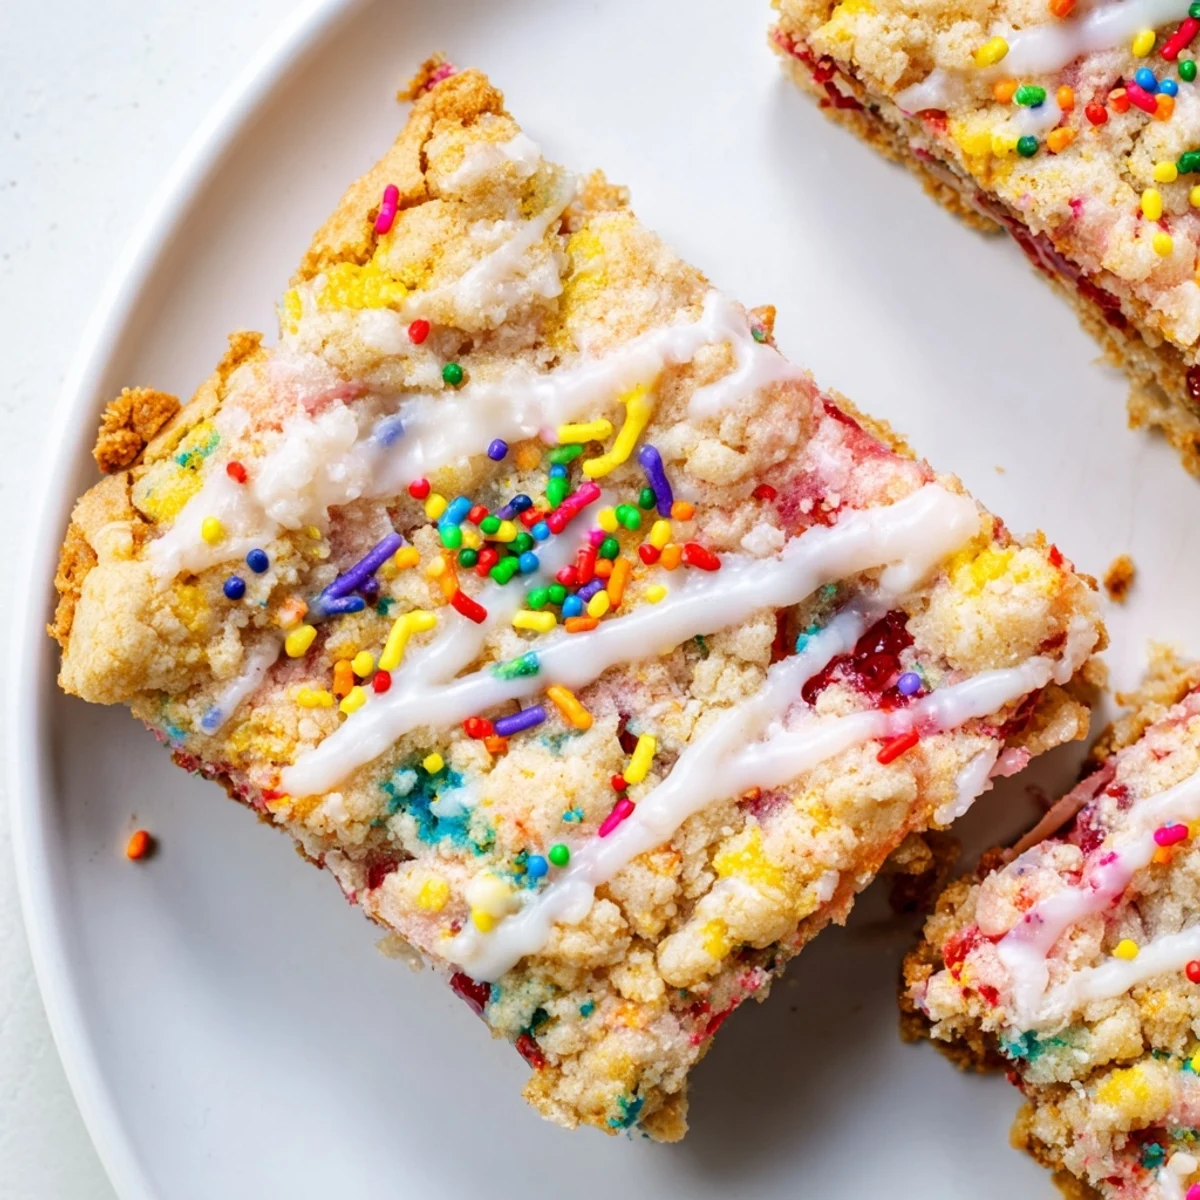
- Drizzle the glaze back and forth over the cooled bars then immediately shower them with sprinkles before the glaze sets
- Set and slice:
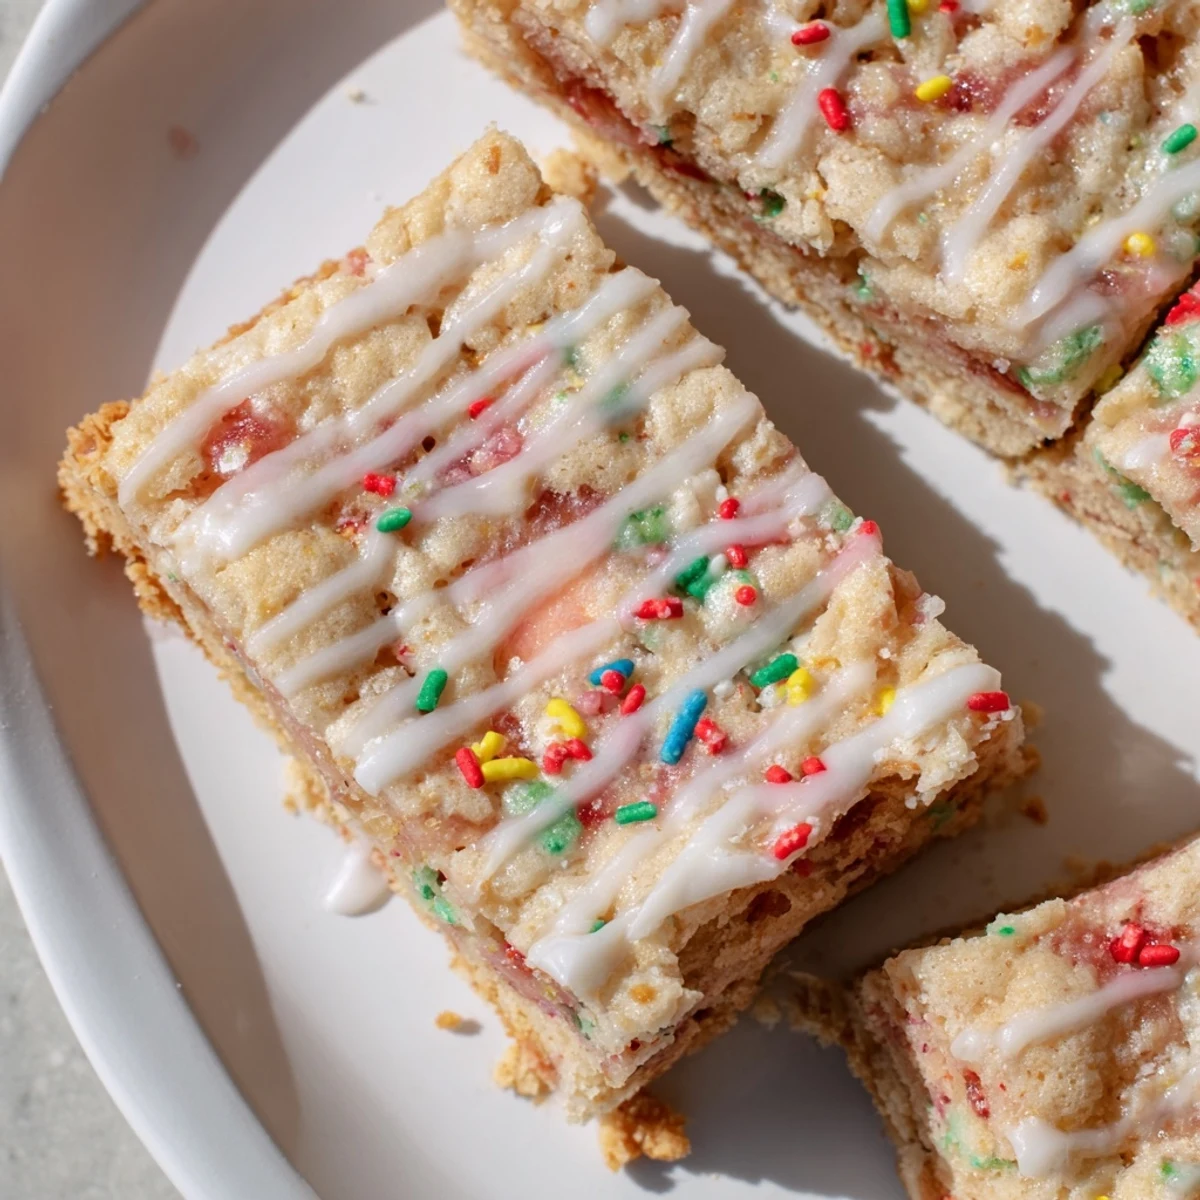
- Let the glaze firm up for about 15 minutes then use the parchment overhang to lift the bars out and cut them into squares
 Pin It
 My daughter helped me make these for the first time last month and her face lit up when she saw the sprinkles going on. She told me these are better than the ones from the box and honestly I have to agree with her.
Choosing Your Jam
Raspberry works beautifully here and brings a tartness that cuts through the sweet cookie base. Apricot adds a lovely mellow flavor that pairs well with the buttery notes of the dough.
Making Ahead
You can bake the bars a day ahead and store them tightly wrapped at room temperature without the glaze. Add the glaze and sprinkles the day you plan to serve them for the freshest appearance.
Storage Tips
These bars keep well for up to three days when stored in an airtight container at room temperature. The cookie layer softens slightly over time which some people actually prefer.
- Place parchment paper between stacked layers so they do not stick together
- If the glaze gets soft you can refrigerate the bars for 30 minutes to firm it back up
- Freeze unglazed bars for up to two months wrapped tightly in plastic and foil
 Pin It
 These bars have become my go to for potlucks and bake sales because they are so easy to transport and everyone recognizes the nostalgic flavor. Hope they bring some joy to your kitchen too.
Recipe Questions & Answers
- → Can I use different jam flavors?
-
Absolutely! While strawberry jam creates a classic flavor, you can use raspberry, blueberry, apricot, or even grape jelly. Mixed berry jams work beautifully too. Choose your favorite fruit preserve or what you have in your pantry.
- → How should I store these bars?
-
Store in an airtight container at room temperature for up to 3 days. For longer storage, refrigerate for up to a week. The bars can also be frozen for up to 3 months—wrap individual pieces in plastic wrap and place in a freezer bag.
- → Can I make these gluten-free?
-
Yes! Substitute the all-purpose flour with a 1:1 gluten-free flour blend that contains xanthan gum. The texture and taste will remain similar, making these accessible for those with gluten sensitivities.
- → Why did my dough seem too soft?
-
If your dough feels too soft or sticky, chill it in the refrigerator for 15-20 minutes before pressing into the pan. Softened butter at room temperature is ideal, but if it's too warm, the dough can become difficult to work with.
- → Can I make these without sprinkles?
-
Certainly! The sprinkles are purely decorative. You can leave them off entirely, or top with chopped nuts, shredded coconut, or even mini chocolate chips for a different texture and appearance.