 Pin It
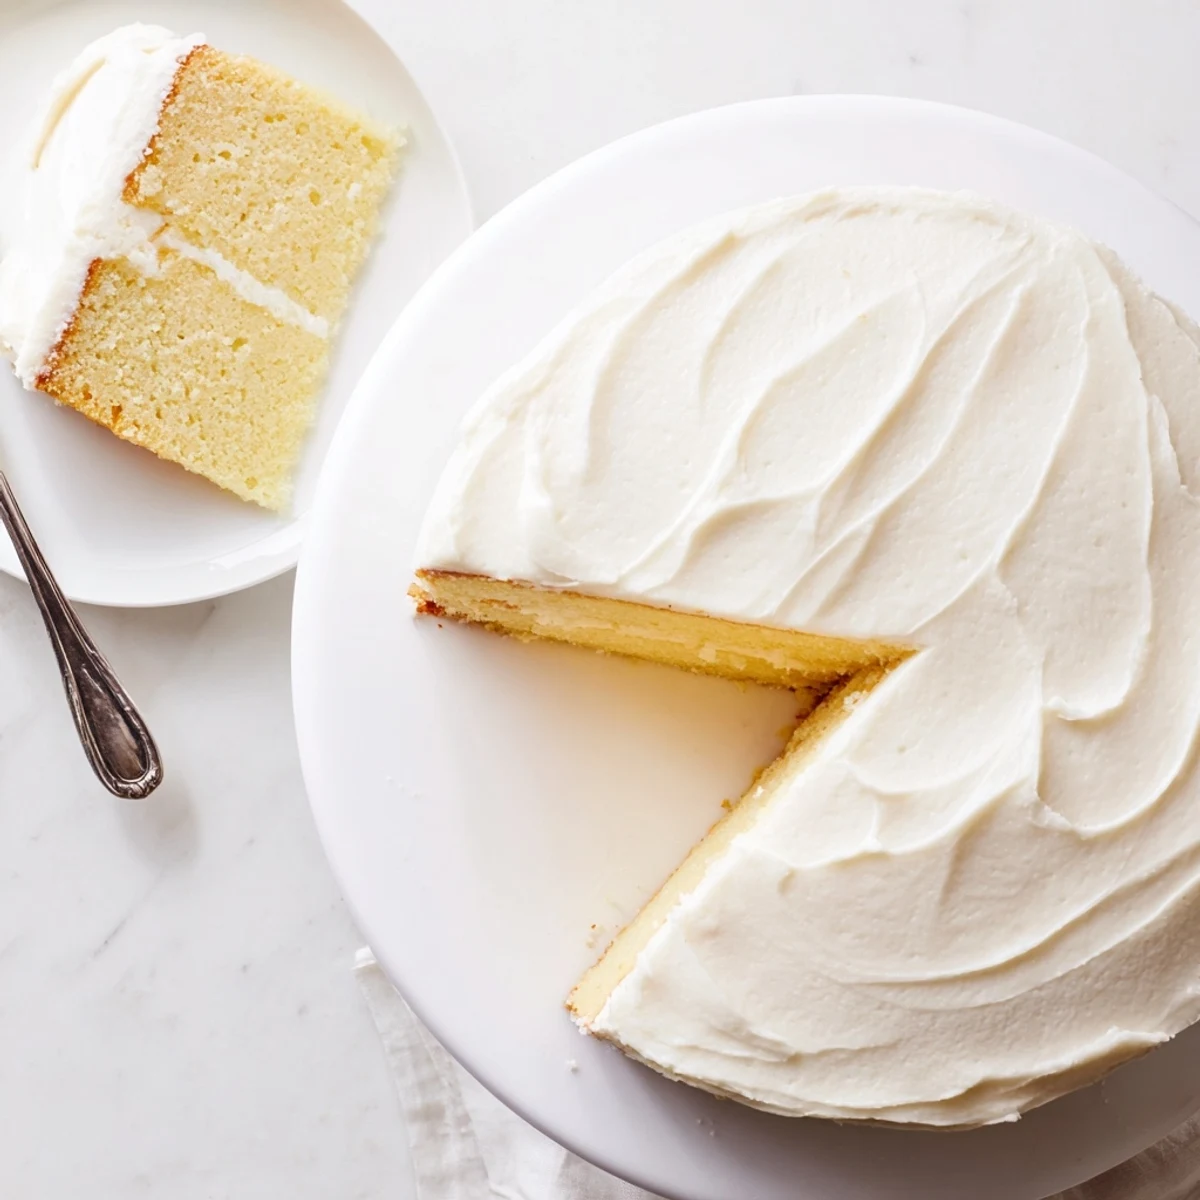
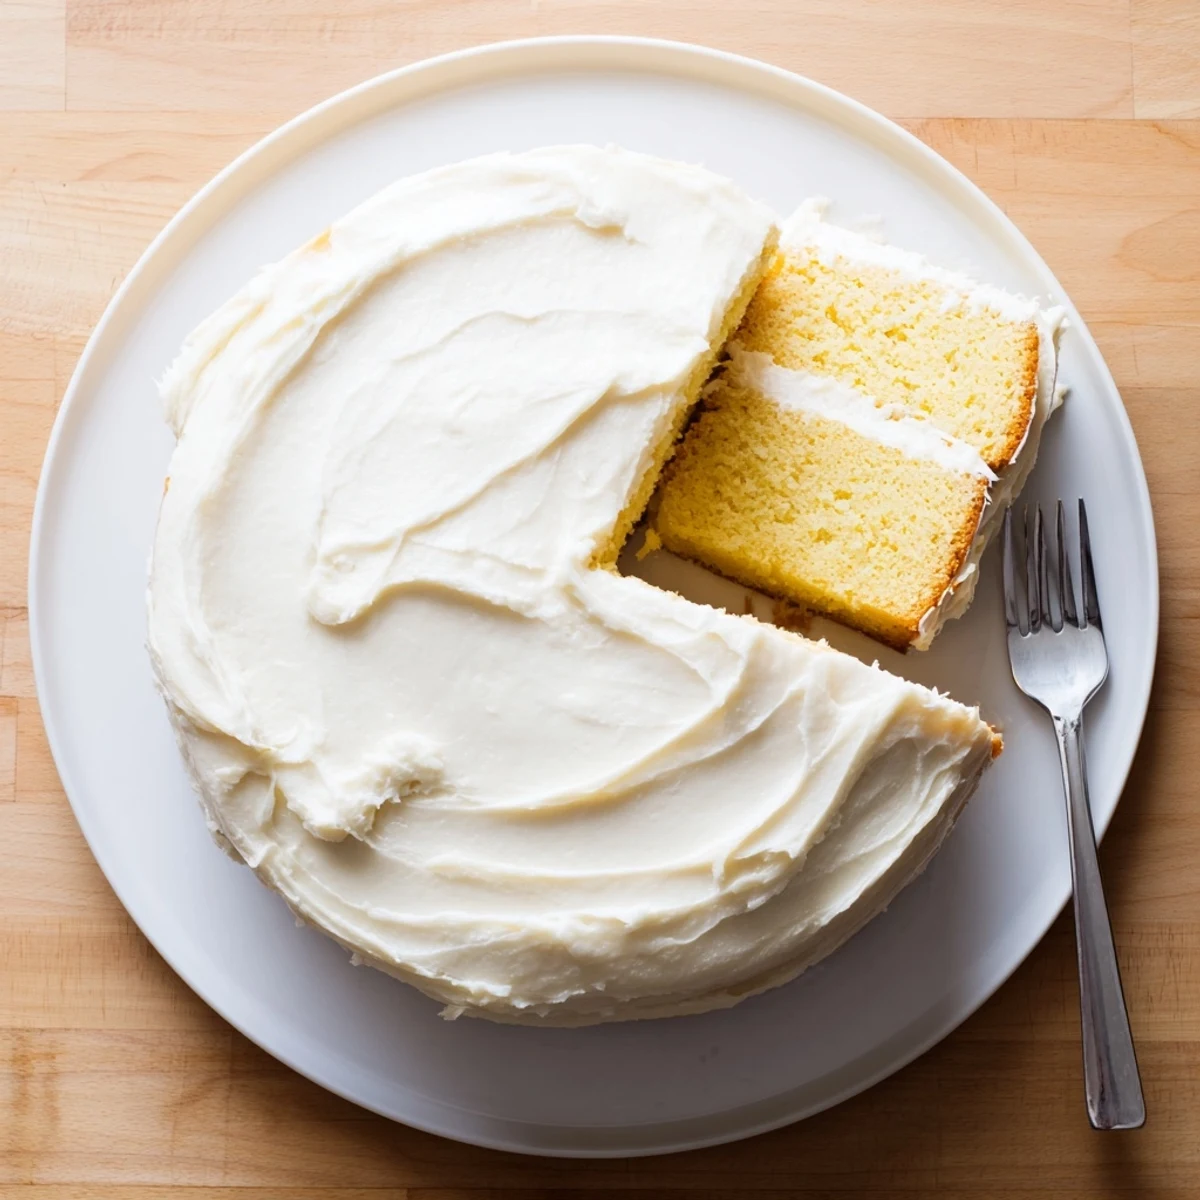
 Create a classic light and moist vanilla cake with creamy buttercream frosting. This beloved dessert features tender layers infused with pure vanilla extract, paired with silky smooth frosting. Perfect for birthdays, holidays, or any special occasion worth celebrating.
The batter comes together quickly with basic pantry ingredients, while the homemade buttercream adds rich, creamy finish. Each slice delivers that beloved vanilla flavor everyone loves.
The way my apartment smelled when I first attempted this vanilla cake stopped my roommate in her tracks. She thought Id bought it from a bakery downtown, which still makes me laugh considering my first attempt was lopsided and the frosting was sliding off one side. But that flavor something about real vanilla bean and properly creamed butter made it unforgettable. Now its my go-to for everything from Tuesdays to wedding showers.
I made this cake for my sisters birthday last summer, and I was so nervous I checked the oven every five minutes like it would somehow cook faster with my supervision. When I pulled those golden rounds out and they sprung back perfectly under my touch, I actually did a tiny happy dance right there in the kitchen. My sister took photos before she even tasted it, and later told me it was exactly like the cake our grandmother used to make for Sunday dinners.
Ingredients
- All-purpose flour: The structure builder here. Dont pack it down when measuring or your cake will be dense instead of tender
- Baking powder: This is what creates those beautiful air pockets. Make sure its fresh or your cake wont rise properly
- Salt: Just a pinch enhances all the other flavors and keeps the cake from tasting flat
- Unsalted butter: Use truly softened butter, not melted. Those tiny air pockets you create when creaming butter and sugar are everything
- Granulated sugar: Cream this thoroughly with the butter. That 4 minutes of beating time is not optional
- Large eggs: Room temperature eggs emulsify better into the batter, creating that velvety smooth texture
- Pure vanilla extract: The star of the show. Ive tried the expensive stuff and the grocery store brand, both work beautifully
- Whole milk: Also room temperature so it doesnt shock the butter and cause curdling
- Unsalted butter for frosting: Beat this alone first until it turns pale and creamy. This step makes all the difference
- Powdered sugar: Sifting is annoying but necessary. No one wants crunchy bits in their silky buttercream
- Milk and vanilla for frosting: Adjust these to get your perfect spreading consistency
Instructions
- Get everything ready:
- Preheat that oven to 350°F and prep your pans with parchment paper and grease. Theres nothing worse than ready batter and unprepared pans.
- Whisk your dry ingredients:
- Combine flour, baking powder, and salt in a medium bowl. Set it aside and resist the urge to skip this step.
- Cream butter and sugar:
- Beat them together for a full 4 minutes until the mixture turns pale and fluffy. This is where the magic happens.
- Add eggs and vanilla:
- Drop in eggs one at a time, beating well after each. Then pour in that vanilla and watch the batter come together.
- Combine everything:
- Alternate adding flour mixture and milk, starting and ending with flour. Stop mixing the moment you see the last streaks of flour disappear.
- Bake to perfection:
- Divide batter between pans, smooth the tops, and bake for 28 to 32 minutes. Your kitchen will smell incredible.
- Cool completely:
- Let the cakes rest in pans for 10 minutes before turning them out. Patience is so hard here but so necessary.
- Make the frosting:
- Beat butter until creamy, then gradually add powdered sugar, milk, vanilla, and salt. Whip it for 3 minutes until fluffy.
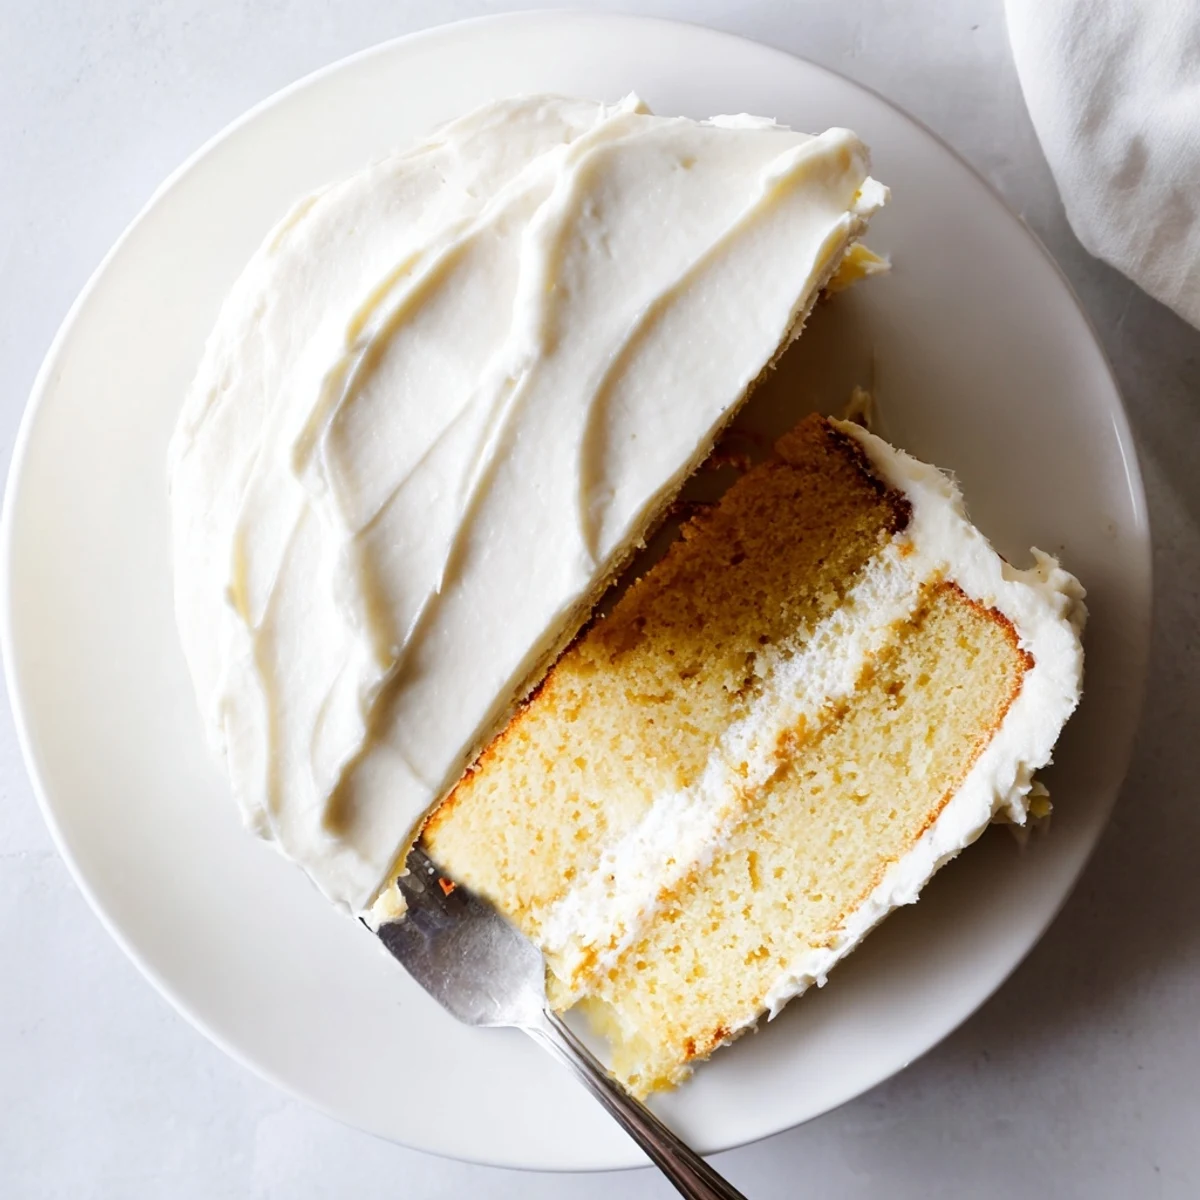
- Assemble your masterpiece:
- Spread buttercream between layers, then frost the top and sides. Take your time and enjoy the process.
 Pin It
 Last Christmas, I made six of these cakes for various gatherings and by the end of December, I had the recipe memorized and my family had started requesting it by name. My dad, who never comments on desserts, actually asked if I could teach him how to make it. That might be the highest compliment Ive ever received in the kitchen.
The Secret to Level Cake Layers
After years of slightly lopsided cakes, I discovered that wrapping the outside of my cake pans with damp cloth strips creates perfectly even layers every time. The strips slow down the baking at the edges, so the center catches up and everything rises uniformly. Its a tiny extra step that makes your finished cake look professionally baked.
Making It Ahead
Life gets busy, and Ive learned that this recipe is incredibly forgiving about timing. The baked cake layers freeze beautifully for up to two months when wrapped tightly in plastic and then foil. Just thaw them overnight in the refrigerator before frosting. The buttercream also keeps in the fridge for a week and freezes for months. Last minute parties are so much less stressful when you know you have cake components ready to assemble.
Frosting Like a Pro
The first time I tried to frost a cake, it looked like a kindergartner had attacked it with a spatula. Then a pastry chef friend taught me to apply a thin crumb coat first and chill it for 15 minutes before adding the final layer of frosting. That simple step changed everything and now my cakes actually look as good as they taste.
- Run your spatula under hot water for perfectly smooth frosting
- Use an offset spatula for easier control and professional looking results
- Keep a small bowl of warm water nearby to smooth out any imperfections
 Pin It
 Some recipes are just mechanics, but this one feels like giving someone a hug. Hope it becomes a favorite in your kitchen too.
Recipe Questions & Answers
- → How do I know when the vanilla cake is done baking?
-
Insert a toothpick into the center of the cake. If it comes out clean or with just a few moist crumbs, the cake is done. The edges should also start pulling away slightly from the pan sides.
- → Can I make this vanilla cake ahead of time?
-
Yes! You can bake the layers up to 2 months ahead. Wrap cooled cakes tightly in plastic wrap and freeze. Thaw overnight at room temperature before frosting.
- → Why did my cake turn out dense?
-
Overmixing the batter can create a dense texture. Mix only until ingredients are just combined. Also ensure ingredients are at room temperature before mixing for proper aeration.
- → How should I store the finished vanilla cake?
-
Store covered at room temperature for up to 3 days. For longer storage, refrigerate for up to a week. Bring to room temperature before serving for the best texture and flavor.
- → Can I use salted butter instead of unsalted?
-
You can substitute salted butter, but reduce the added salt in both the cake and frosting by about half. This prevents the final flavor from becoming too salty.
- → What's the best way to get flat cake layers?
-
Smooth the batter evenly in pans before baking and tap pans gently on the counter to release air bubbles. If domes form, use a serrated knife to level the tops while cooling.