 Pin It
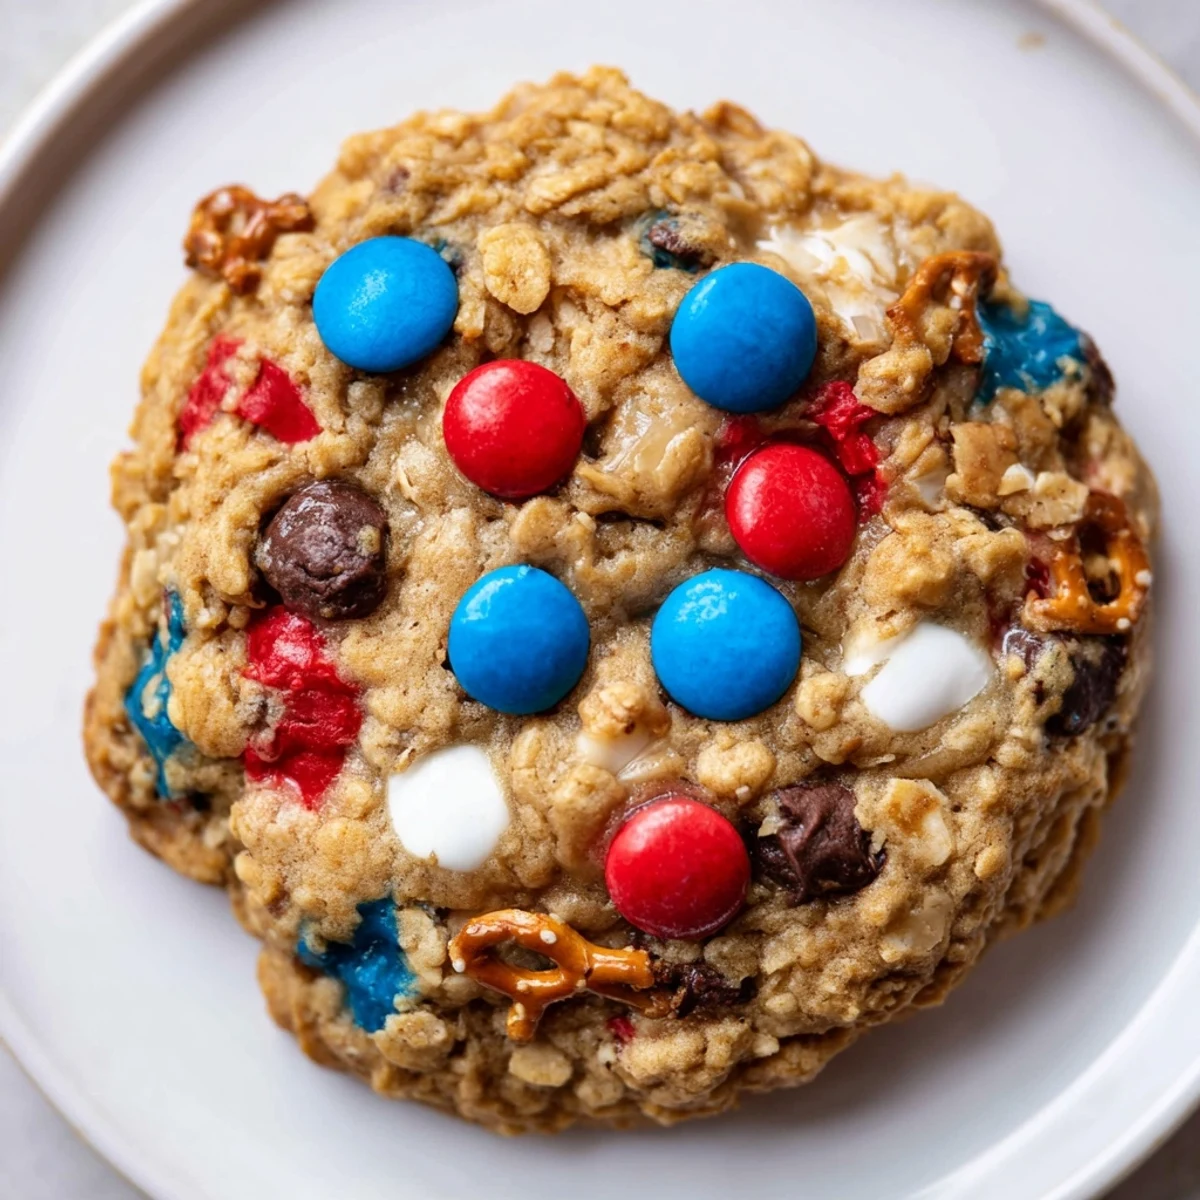
 These Patriotic Monster Cookies yield about 24 chewy rounds in roughly 32 minutes total. Cream butter and sugars, beat in peanut butter, eggs, and vanilla, then fold in oats, flour, baking soda, salt, candies, chips, and optional pretzels. Scoop onto lined baking sheets, bake 10–12 minutes until edges are golden, then cool. For extra chew, underbake slightly and cool on the sheet.
The irresistible sound of a spoon scraping against the bowl was my backdrop the first time I made these Patriotic Monster Cookies. Oats scattered from my hands onto the countertop as I tried, unsuccessfully, to measure quickly while my dog circled my feet in hopes of stray candy. The scent of peanut butter warming in the mixer whispered that something fun was happening in the kitchen. I knew before the first bite these cookies had celebration written all over them.
Last Fourth of July, I handed a plate of these cookies to my neighbor across the fence, apologizing for the uneven sprinkle of red and blue. She laughed and said the lopsided ones always taste best, and we munched away while waiting for the fireworks to start.
Ingredients
- Unsalted butter: Let it sit out until soft—it blends so much easier and adds a creamy base that carries the peanut butter flavor.
- Granulated sugar: A touch more than you think ensures the edges caramelize just right.
- Light brown sugar: If you’re like me and dig into a half-crusted bag, give it a quick break-up for even mixing—it’s the secret to chewiness.
- Creamy peanut butter: Smooth works best here, though swapping in crunchy can add a little extra bite.
- Eggs: Let them come to room temperature for fluffier dough.
- Vanilla extract: Don’t skip it—even a little lifts all the flavors.
- Old-fashioned oats: Rolled oats make each cookie hearty, and I love seeing the little flecks poke through the dough.
- All-purpose flour: Sift if you have the patience (I usually don’t!)—but it does make a softer batch.
- Baking soda: Gets the cookies to rise so they’re not too dense.
- Salt: Makes everything else pop—don’t leave it out even if your peanut butter is salted.
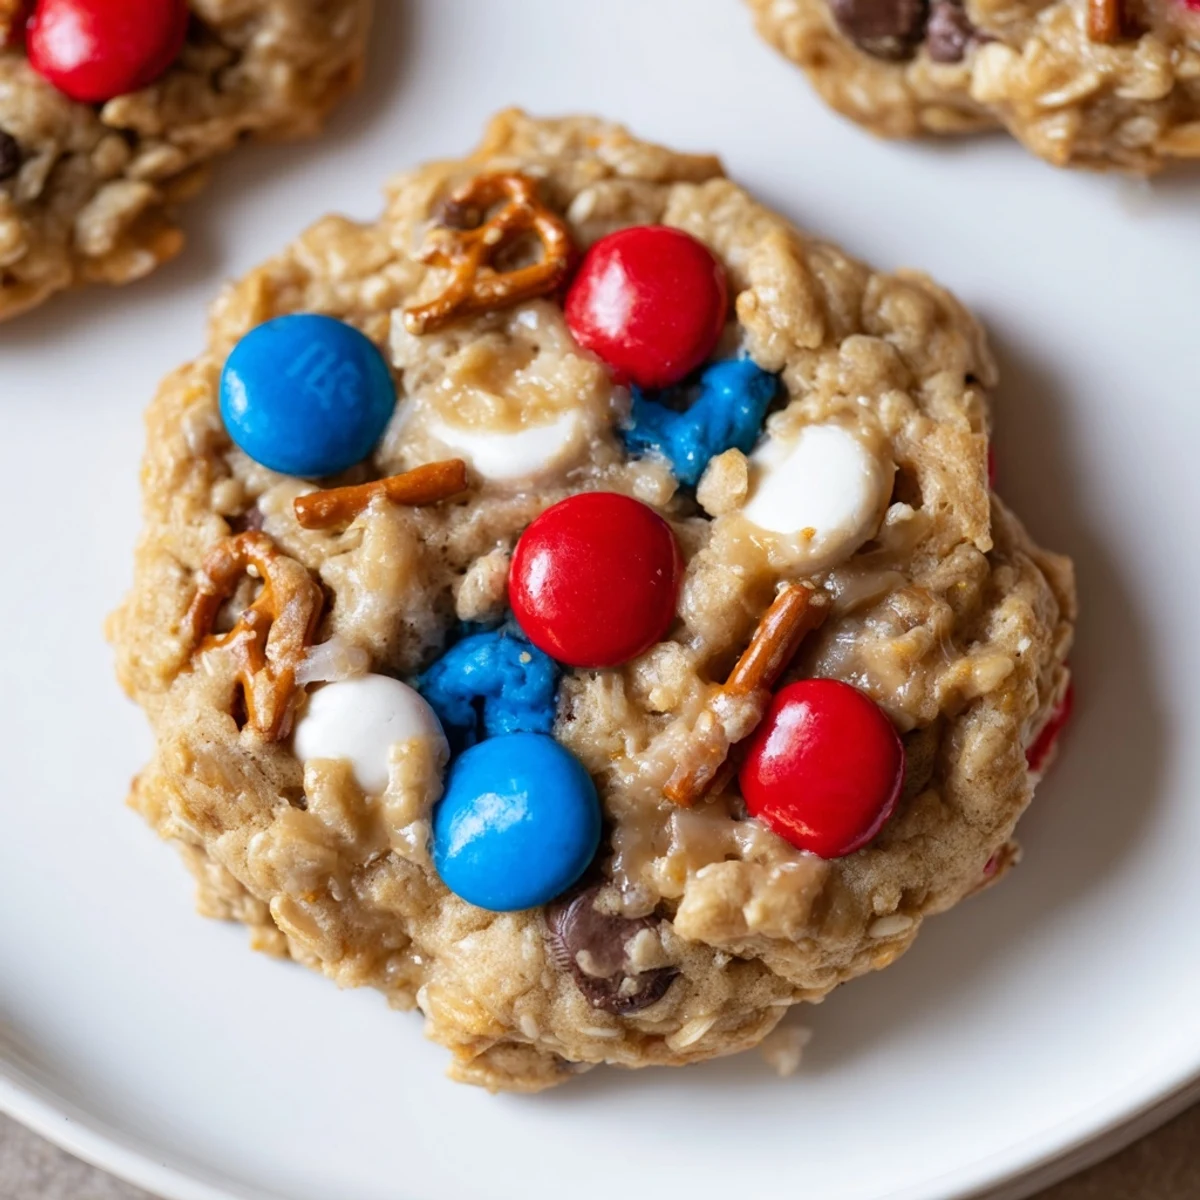
- Red, white, and blue chocolate candies: These are the stars of the show—press a few extra on top before baking for picture-ready treats.
- Semisweet chocolate chips: I always snag a few right from the bag to taste test—makes sure they’re fresh, right?
- Mini pretzels (optional): A last-minute addition if you like extra crunch and a hint of salt.
Instructions
- Get Ready to Bake:
- Heat your oven to 350°F (175°C) and line two baking sheets with parchment paper so cleanup is almost effortless.
- Cream and Blend:
- Toss room-temperature butter, both sugars into a big bowl and mix until the color lightens and the mixture feels fluffy between your fingers.
- Make it Rich:
- Blend in the creamy peanut butter, then add eggs one by one, mixing as you go, and breathe in the nutty fragrance.
- Mix the Dry:
- In a separate bowl, whisk together oats, flour, baking soda, and salt, listening for that satisfying whisper of grains against steel.
- Combine Carefully:
- Stir dry ingredients gradually into the wet until almost mixed—you don’t want to overdo it or the cookies get tough.
- Add All the Fun:
- Fold in candies, chocolate chips and pretzel pieces gently; the color streaks are half the show here.
- Scoop & Space:
- Scoop heaping tablespoons onto your pans, about two inches apart, nudging straggler candies back into the dough if they wander off.
- Bake to Perfection:
- Bake 10–12 minutes or just until the edges turn golden—don’t let them brown all over or you’ll miss that melt-in-the-middle magic.
- Cool and Enjoy:
- Let them rest five minutes on the baking sheet so they set, then transfer to a rack and try to wait until they stop steaming before sneaking one.
 Pin It
 One afternoon, I arrived home to find a single cookie missing from the cooling rack and telltale colorful crumbs leading to my spouse in the living room—not a word needed, just a grin and a thumbs-up.
Making the Dough Just Right
I realized after a few tries that slightly under-mixed dough gives streaks of peanut butter and makes the texture so satisfying. Too much stirring and you lose those magic pockets. It also helps to scrape the bowl a couple times to make sure no dry flour hides at the bottom.
Customizing for Every Occasion
Sometimes I swap out the candies for whatever colors fit the mood—green and gold for game days or just all chocolate chips for a cozy night in. Even swapping half the peanut butter for almond or cashew butter yields a new twist. There’s really no wrong direction, and it’s become my secret for keeping things fresh each time I bake.
Cookie Storage and Freezer Tips
Allow the cookies to cool completely before you tuck them into an airtight container so they keep their chewiness for days. They actually freeze beautifully, dough or baked—just freeze individual dough balls and you’re never more than 15 minutes from warm cookies.
- Stick parchment between layers if you stack them.
- Frozen dough doesn’t need to thaw before baking, just add an extra minute or two.
- Keep a few baked cookies in the freezer for those emergency cravings.
 Pin It
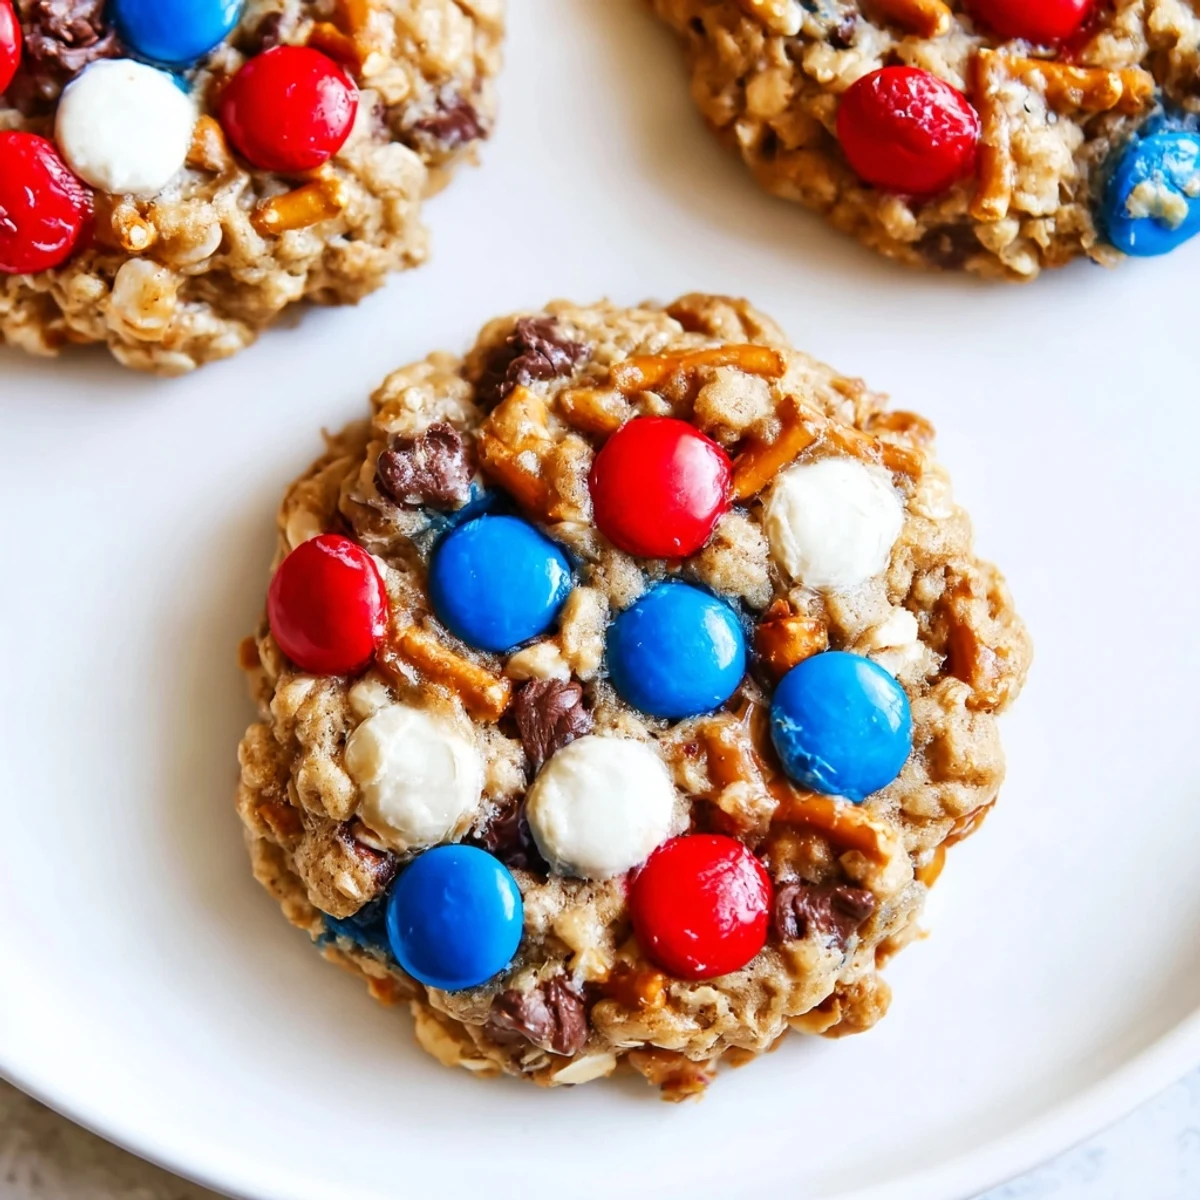
 If you ever need a treat to make the day brighter and more colorful, these cookies always do the trick. They disappear fast, but the smiles and sticky fingers stick around.
Recipe Questions & Answers
- → How do I keep the cookies chewy?
-
Underbake by a minute or two so centers stay soft, cool cookies on the baking sheet for 5–10 minutes, and rely on more brown sugar than granulated sugar to retain moisture.
- → Can I swap the peanut butter?
-
Yes—almond or sunflower seed butter work well. Texture may vary slightly; adjust if the dough seems too dry by adding a tablespoon of milk or an extra egg yolk.
- → How should I store them?
-
Keep cooled cookies in an airtight container at room temperature for 3–4 days. For longer storage, freeze baked cookies or freeze dough balls on a tray, then transfer to a sealed bag.
- → Any tips for keeping candies bright?
-
Fold candies in gently and avoid overmixing. For a very bright finish, press a few extra candies onto each dough ball right before baking so colors remain visible on top.
- → Can I make these gluten-free?
-
Use certified gluten-free oats and substitute a 1:1 gluten-free flour blend for all-purpose flour. The texture will be similar if the blend contains xanthan gum or a binder.
- → What if I want smaller or larger cookies?
-
Adjust baking time: smaller cookies need about 8–10 minutes, larger ones 12–14 minutes. Keep an eye on edges for a golden color and slightly soft centers.