 Pin It
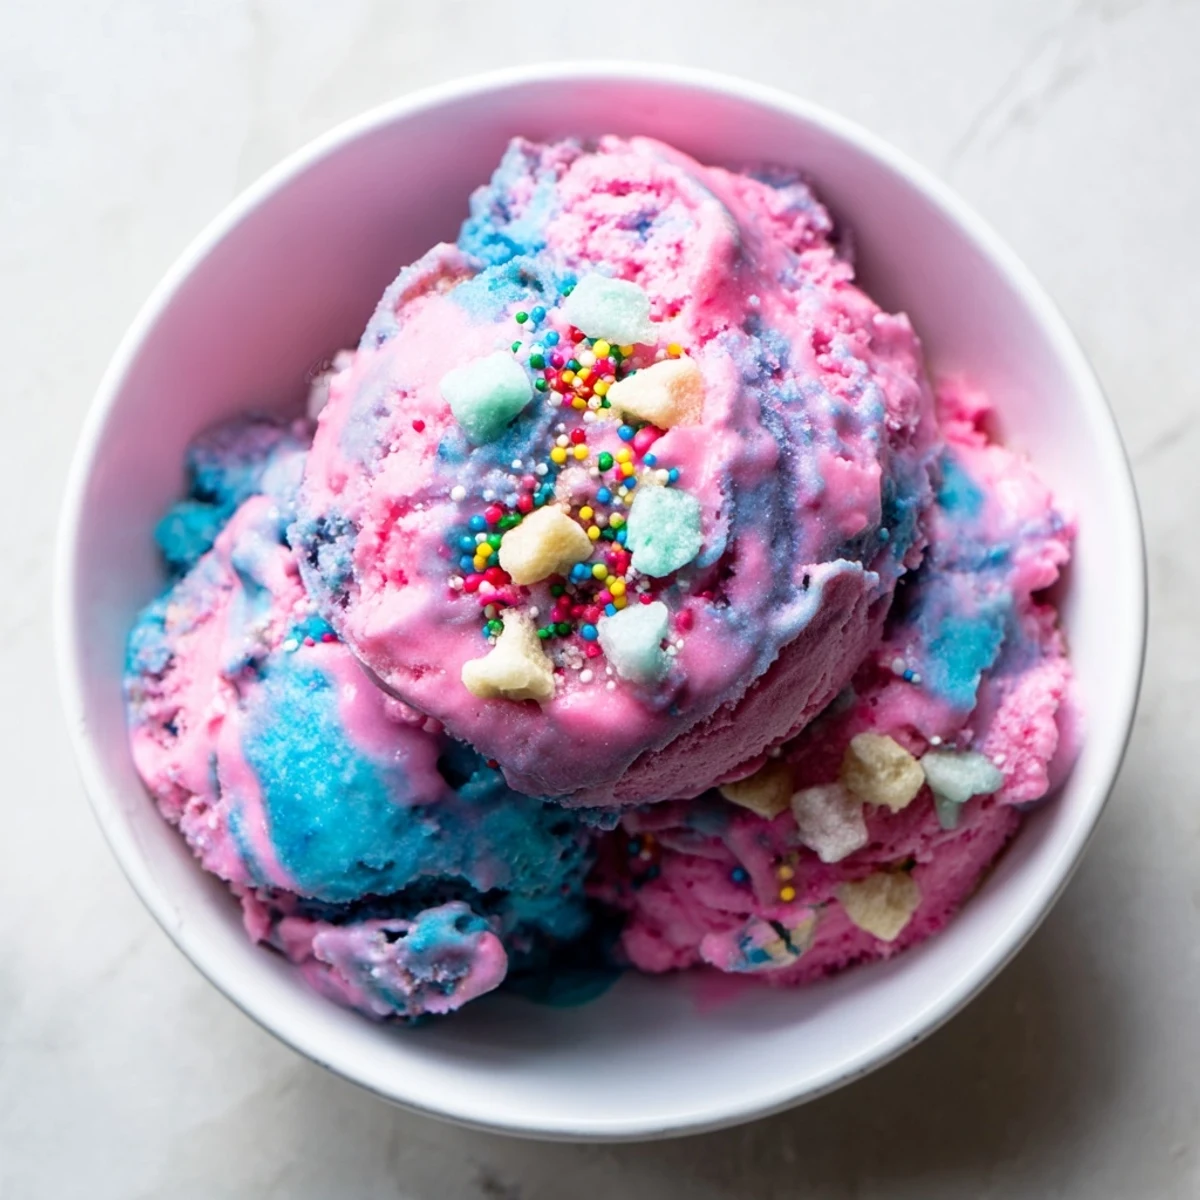
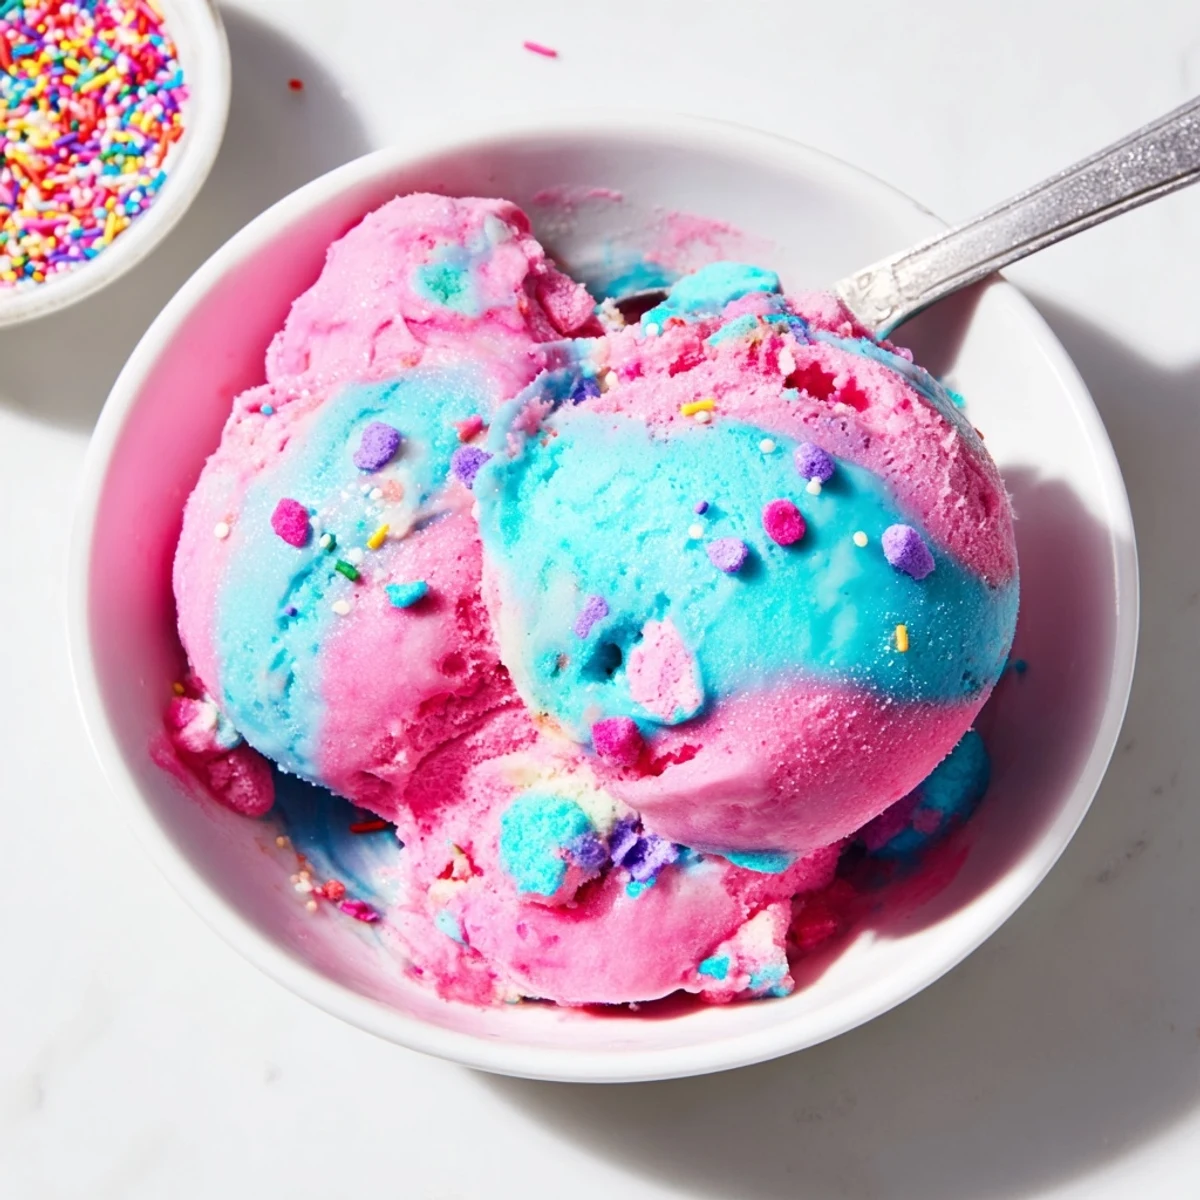
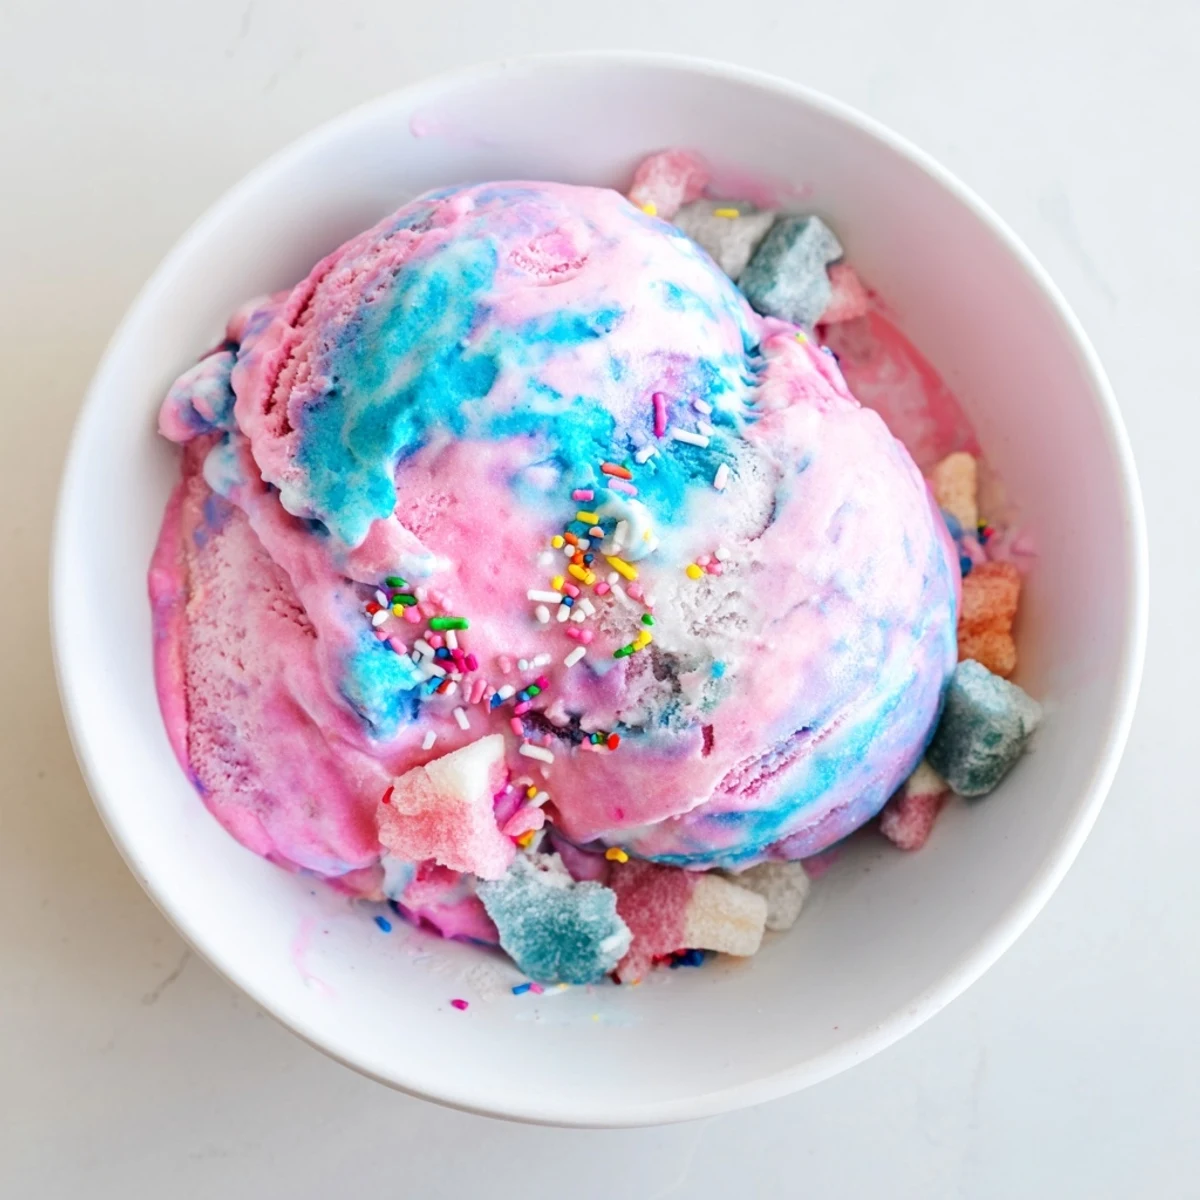
 Whip up this dreamy bubblegum ice cream without any special equipment. The no-churn method combines whipped heavy cream with sweetened condensed milk for an incredibly smooth, creamy texture that rivals traditional churned versions. Bubblegum flavoring and food coloring give it that nostalgic taste and vibrant pink hue everyone loves.
Simply fold whipped cream into the condensed milk mixture, add chopped bubblegum candies, and freeze. The result is a luscious, scoopable frozen dessert that's ready in just 15 minutes of active time. Perfect for birthday parties, summer gatherings, or whenever you crave a fun throwback treat.
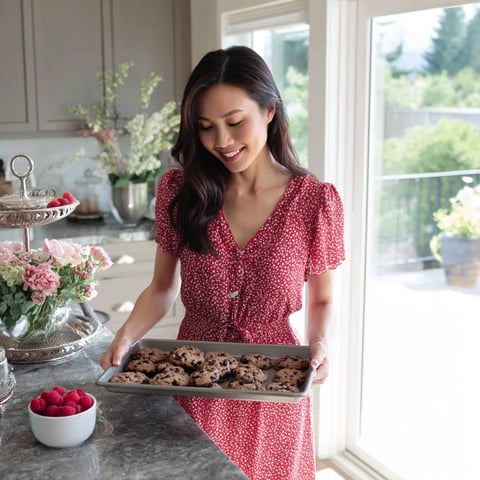
The smell of bubblegum always takes me back to the baseball card shop where my dad used to let me pick out one pack every Saturday. I would chew that pink piece until my jaw ached, sorting through cards and hoping for a rookie find. When I discovered you could capture that exact sweet synthetic magic in ice cream form, my adult mind was absolutely blown.
Last summer I made this for my niece's birthday party and the kids went absolutely wild. They stood around the freezer door watching it set like it was some kind of magical potion. The adults were sneaking scoops when the children werent looking because nostalgia hits hard when it tastes this good.
Ingredients
- Heavy whipping cream: The foundation of that rich creamy texture that makes no churn possible
- Sweetened condensed milk: This sweet thick base prevents ice crystals from forming
- Bubblegum flavoring: The secret ingredient that transforms plain cream into pure childhood
- Food coloring: Choose pink for classic gum or swirl with blue for something extra fun
- Bubblegum candies: Chewy little surprises tucked inside every scoop
Instructions
- Whip the cream:
- Beat that cold heavy whipping cream until stiff peaks form and your mixer leaves trails through the white fluff
- Mix the flavor base:
- Whisk the sweetened condensed milk with vanilla bubblegum flavoring and your chosen food coloring until everything turns a beautiful uniform color
- Combine the mixtures:
- Gently fold the whipped cream into the flavored milk using a spatula being careful not to deflate all those air bubbles you worked so hard to create
- Add the candy:
- Fold in chopped bubblegum pieces so they are evenly distributed throughout the base
- Freeze and set:
- Pour everything into a loaf pan smooth the top and freeze for at least six hours until firm enough to scoop
- Service time:
- Let it sit on the counter for a few minutes before scooping so it softens just slightly
 Pin It
 This became my go to contribution for potlucks because it never fails to make people smile before they even take a bite. There is something about that bright pink color that promises pure fun and simple happiness.
Getting That Perfect Swirl
If you want to create that classic bubblegum ice cream look drop dots of both pink and blue coloring into your base and barely fold them together. Do not over mix or you will lose that gorgeous marbled effect that makes it look like it came straight from an old fashioned parlor.
Storage Secrets
This ice cream keeps beautifully for weeks when stored in an airtight container. Press a piece of parchment paper directly against the surface before sealing to prevent any freezer burn from forming on top. Your future self will thank you.
Fun Variations To Try
While the classic version is hard to beat there are so many ways to make this recipe your own. Mini marshmallows add the perfect pillowy texture while white chocolate chips create these wonderful creamy pockets throughout.
- Swap bubblegum flavor for cotton candy or root beer extract
- Mix in crushed graham crackers for a s'mores inspired twist
- Try different candy combinations like gummy bears or sprinkles
 Pin It
 Scoop yourself a bowl and let that familiar sweet bubblegum taste transport you back to simpler times.
Recipe Questions & Answers
- → Can I use natural food coloring instead of gel?
-
Natural food coloring works but may produce lighter shades. Gel coloring provides more vibrant pink tones without adding extra liquid that could affect texture. Beet juice or berry powders are natural alternatives, though they'll add subtle flavor notes.
- → How long does this keep in the freezer?
-
Stored properly in an airtight container, this frozen treat lasts up to 2 weeks. For best texture and flavor, enjoy within the first week. Place parchment paper directly on the surface to prevent ice crystals from forming.
- → Can I substitute the bubblegum flavoring?
-
Vanilla or strawberry extracts work, though they'll change the flavor profile. For authentic bubblegum taste, the concentrated flavoring is essential. You can also use fruit-flavored extracts like raspberry or banana for different variations.
- → What's the best way to soften before serving?
-
Let it sit at room temperature for 5-10 minutes before scooping. This tempers the frozen treat, making it easier to scoop and improving texture. Microwaving in 10-second intervals works too, but watch carefully to avoid melting.
- → Can I make this without an electric mixer?
-
A whisk works, though it takes longer (8-10 minutes) to achieve stiff peaks. The cream must be very cold for best results. Consider using a food processor or immersion blender with whisk attachment as alternatives to a stand mixer.
- → Are there mix-in alternatives to bubblegum candies?
-
Mini marshmallows, white chocolate chips, or crushed fruity cereals add fun texture and color. For a more sophisticated version, try folding in chopped vanilla sandwich cookies or colorful sprinkles throughout the mixture.