 Pin It
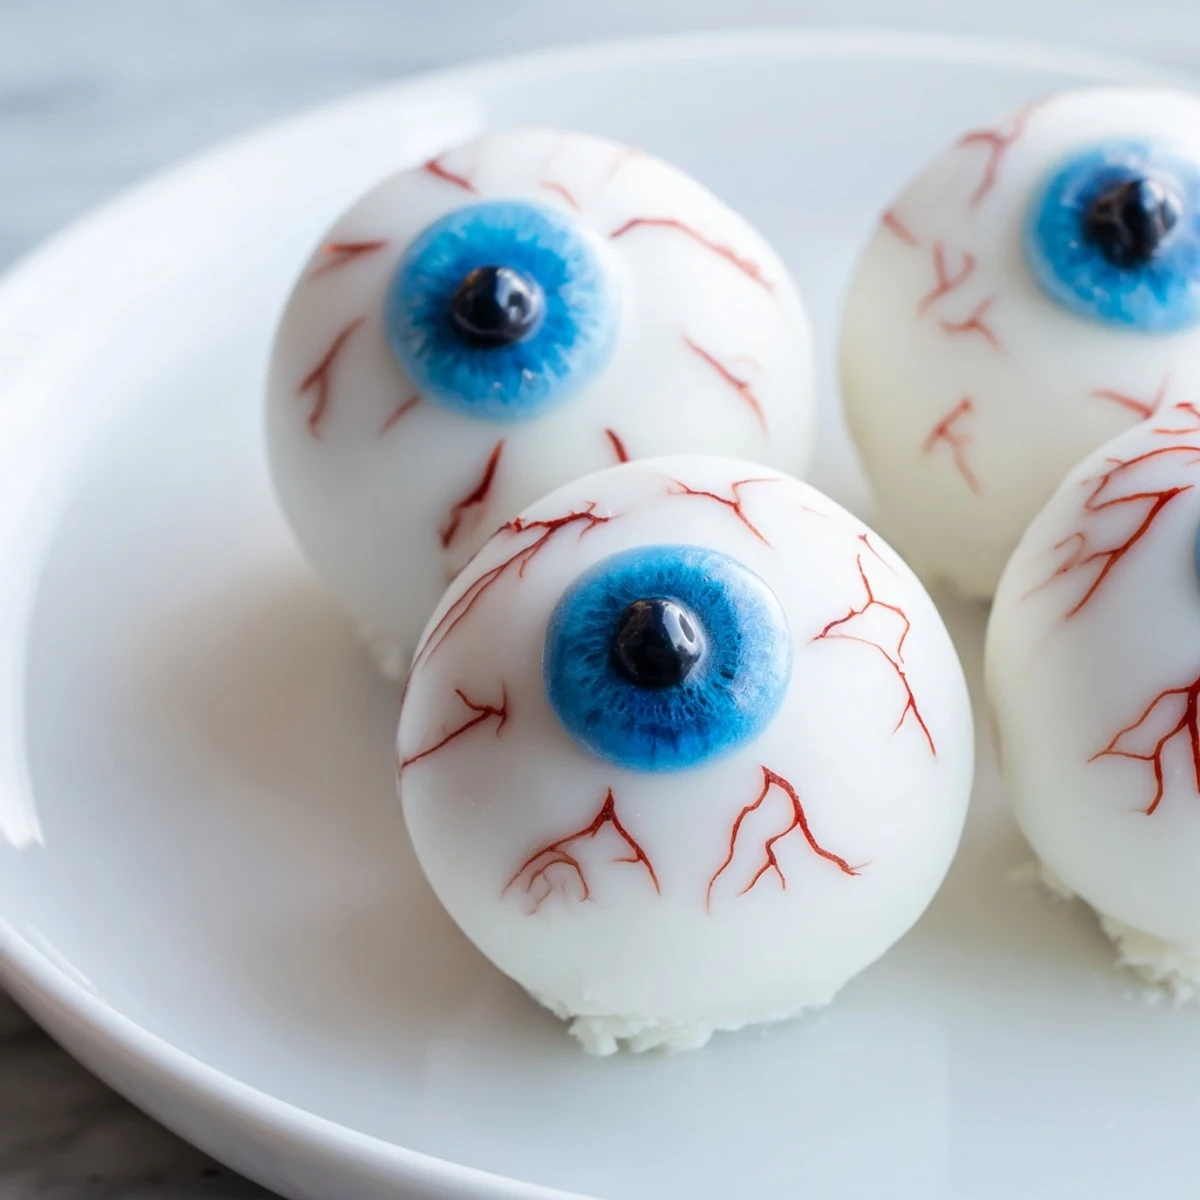
 Create these delightfully spooky Halloween cake eyeballs by combining moist vanilla cake crumbs with creamy cream cheese frosting, rolling into balls, and coating in white chocolate. Each eyeball gets a colorful iris made from blue or green candy melts, a dark chocolate pupil, and dramatic red gel veins for that authentic creepy look. Perfect for Halloween parties, these treats come together in just over an hour and yield 24 impressive eyeballs that both kids and adults will love.
Last Halloween, my kitchen looked like a mad scientist lab gone wrong. White chocolate splattered everywhere, red food coloring staining my fingertips, and these creepy little eyeballs staring back at me from every surface of the counter. My daughter walked in, took one look at the chaos, and declared this the best dessert idea ever.
I brought these to my office potluck and watched grown adults hesitate before finally giving in. Within twenty minutes, the platter was empty and people were asking if I had any more "body parts" hidden away. Something about eating eyeballs just makes people delightfully uncomfortable.
Ingredients
- Vanilla cake mix or homemade cake: The moisture content here is crucial for rolling into balls that dont crack apart
- Cream cheese and butter: Room temperature ingredients blend into the silkiest binding frosting imaginable
- Powdered sugar: Sweetens the filling while helping everything hold together perfectly
- White candy melts: These coat smoother than actual white chocolate and set up firmer for handling
- Dark chocolate or black candy melts: Essential for creating those unsettling pupils that really sell the effect
- Blue or green candy melts: Pick your favorite eye color or mix both for variety
- Red gel food coloring: The veins are what transform these from cute to genuinely creepy
Instructions
- Bake your base:
- Preheat your oven to 180°C and prepare that vanilla cake according to instructions, whether from a box or scratch. Let it cool completely because warm cake turns into a gummy mess when you try to work with it.
- Create the crumble:
- Break that cooled cake into fine crumbs using your hands or a food processor. You want everything uniform so no large chunks sneak into your eyeballs later.
- Make the sticky filling:
- Beat together the softened cream cheese, butter, powdered sugar, and vanilla until completely smooth. This mixture is what transforms dry crumbs into something truffle-like and indulgent.
- Combine and form:
- Mix the frosting into your cake crumbs until everything holds together when you squeeze it. Roll into 24 equal balls and freeze them for 20 minutes so theyre firm enough for dipping.
- Give them the white treatment:
- Melt the white chocolate gently and dip each chilled ball until fully coated. Tap off any excess and let them set completely before moving on.
- Add some color:
- While the white coating is still slightly tacky, add a small colored circle for the iris using blue or green candy melts.
- Create the pupil:
- Once the iris has set, drop a tiny dark chocolate dot right in the center. This small detail makes them look uncomfortably realistic.
- Draw the veins:
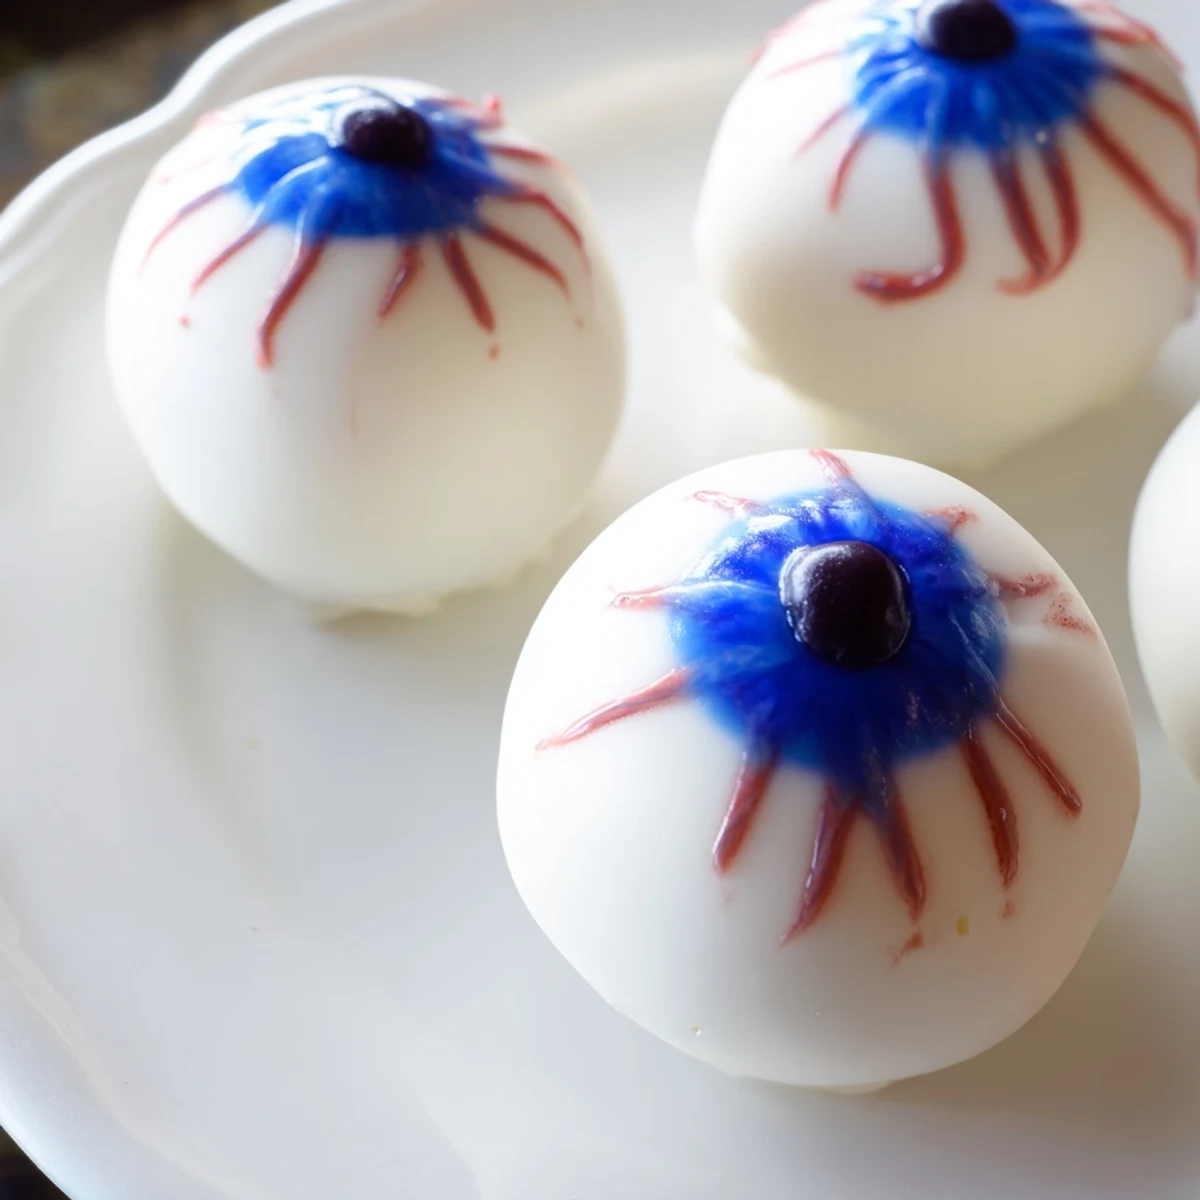
- Use red gel to create squiggly lines radiating from the iris. These unsettling details are what will have people doing double takes at your party.
 Pin It
 Now these sit in my freezer year round, and every time someone opens the door and gets startled by a container of eyeballs, I consider it a job well done. Theres something deeply satisfying about food that makes people laugh while simultaneously questioning their life choices.
Making Ahead For Parties
Ive learned through trial and error that these freeze beautifully for up to a month. Just layer them between parchment paper in an airtight container and thaw in the refrigerator before serving. The white coating stays glossy and the texture remains perfect, making these ideal for preparing when Halloween craziness hits.
Customization Ideas
Last year I made some with brown irises for a more realistic look and others with bright purple eyes for a supernatural vibe. You could even add tiny red dots to create bloodshot effects or use different colored veins for variety. The possibilities are endless once you start experimenting with candy melt colors.
Troubleshooting Common Problems
If your coating keeps cracking, your cake balls might be too cold or the chocolate too thick. Let them sit at room temperature for a few minutes before dipping and thin the chocolate with a teaspoon of coconut oil if needed. Also, make sure your cake crumbs are fine because chunks will create weak points in the coating.
- Use a spoon to help pour chocolate over the balls instead of just dipping
- Keep a bowl of warm water nearby to keep the chocolate fluid while working
- Have extra decorating gel ready because red veins can be tricky to perfect on the first try
 Pin It
 Hope these creepy little treats bring some delightfully horrified expressions to your Halloween table this year. Happy haunting and even happier eating.
Recipe Questions & Answers
- → How long do Halloween cake eyeballs stay fresh?
-
Store these spooky treats in an airtight container in the refrigerator for up to one week. The chilled texture helps maintain their shape and keeps the chocolate coating firm. For longer storage, freeze undecorated cake balls for up to three months, then thaw and decorate when ready.
- → Can I make these ahead of time for a Halloween party?
-
Absolutely! Prepare the cake balls and coat them in white chocolate up to two days before your event. Add the colorful iris details and red veins on the day of serving for the freshest appearance. Keep them refrigerated until party time for best results.
- → What's the best way to melt chocolate for coating?
-
Melt white chocolate or candy melts in 30-second intervals in the microwave, stirring between each burst. Alternatively, use a double boiler on the stovetop over low heat. Avoid overheating, as this can cause the chocolate to seize and become unusable for dipping.
- → Can I use different cake flavors instead of vanilla?
-
Yes! Chocolate cake creates a darker, more dramatic eyeball effect. Red velvet works perfectly for a bloody appearance, while lemon or funfetti adds unexpected flavor twists. Just ensure your cake is completely cooled before crumbling and mixing with frosting.
- → Do I need cake pop sticks to make these?
-
No sticks required! These Halloween eyeballs work perfectly as handheld treats. Simply place them on parchment paper after coating and allow them to set. If you prefer the cake pop presentation, insert sticks before chilling and use a piece of Styrofoam to hold them upright while the chocolate hardens.
- → How can I make the red veins look more realistic?
-
Use a toothpick or fine decorating brush to apply red gel food coloring in thin, branching lines radiating from the center outward. Start with light strokes and build up gradually. The gel's thicker consistency creates more realistic blood vessel effects than liquid coloring.