 Pin It
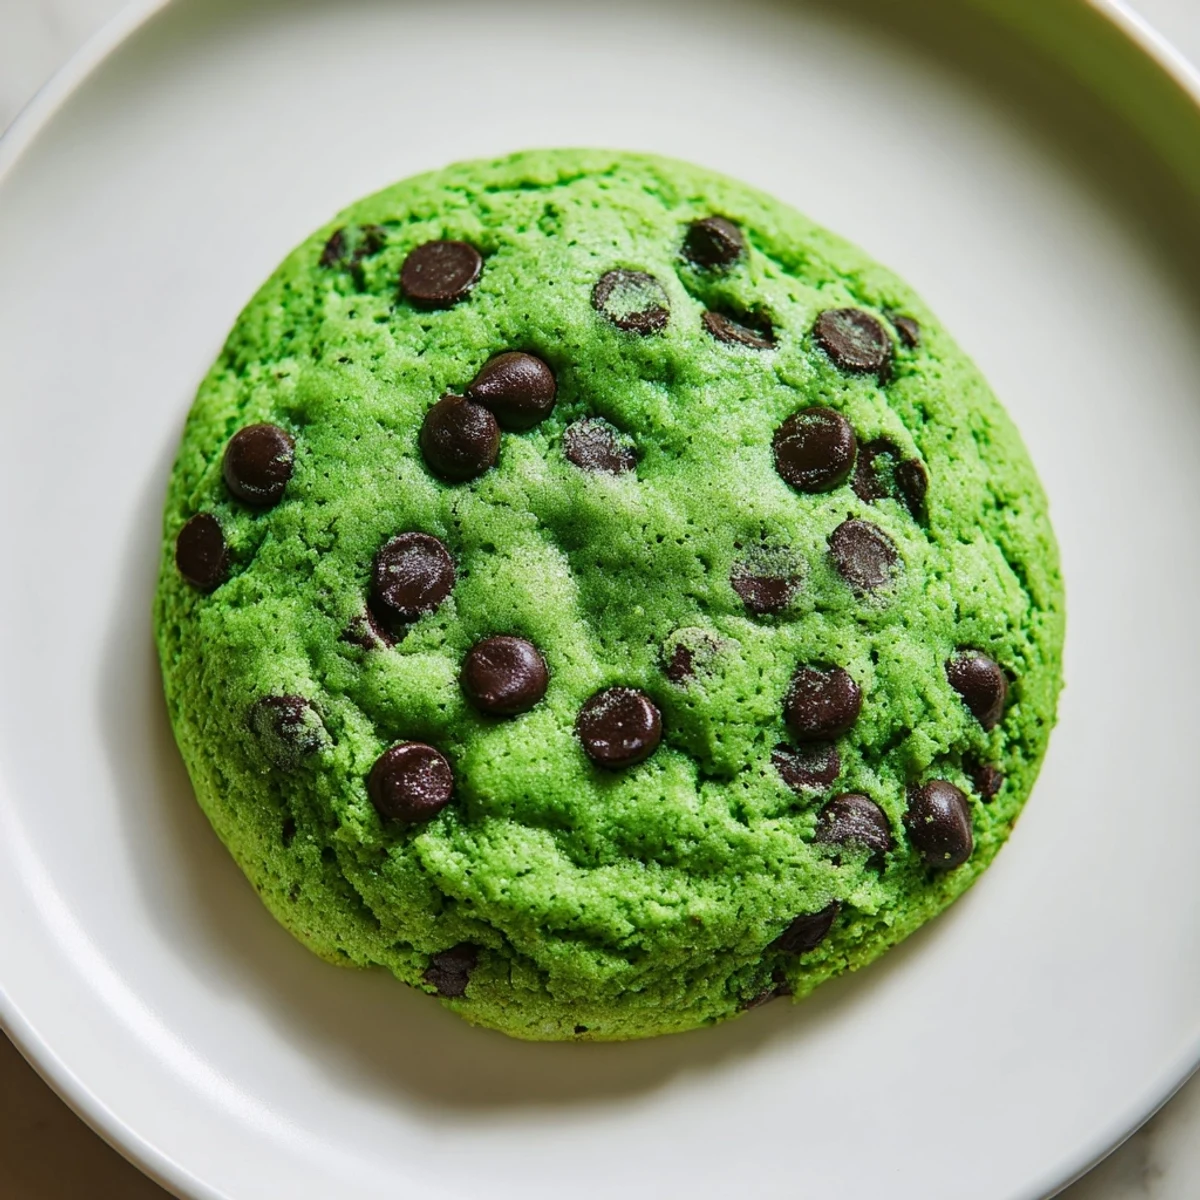
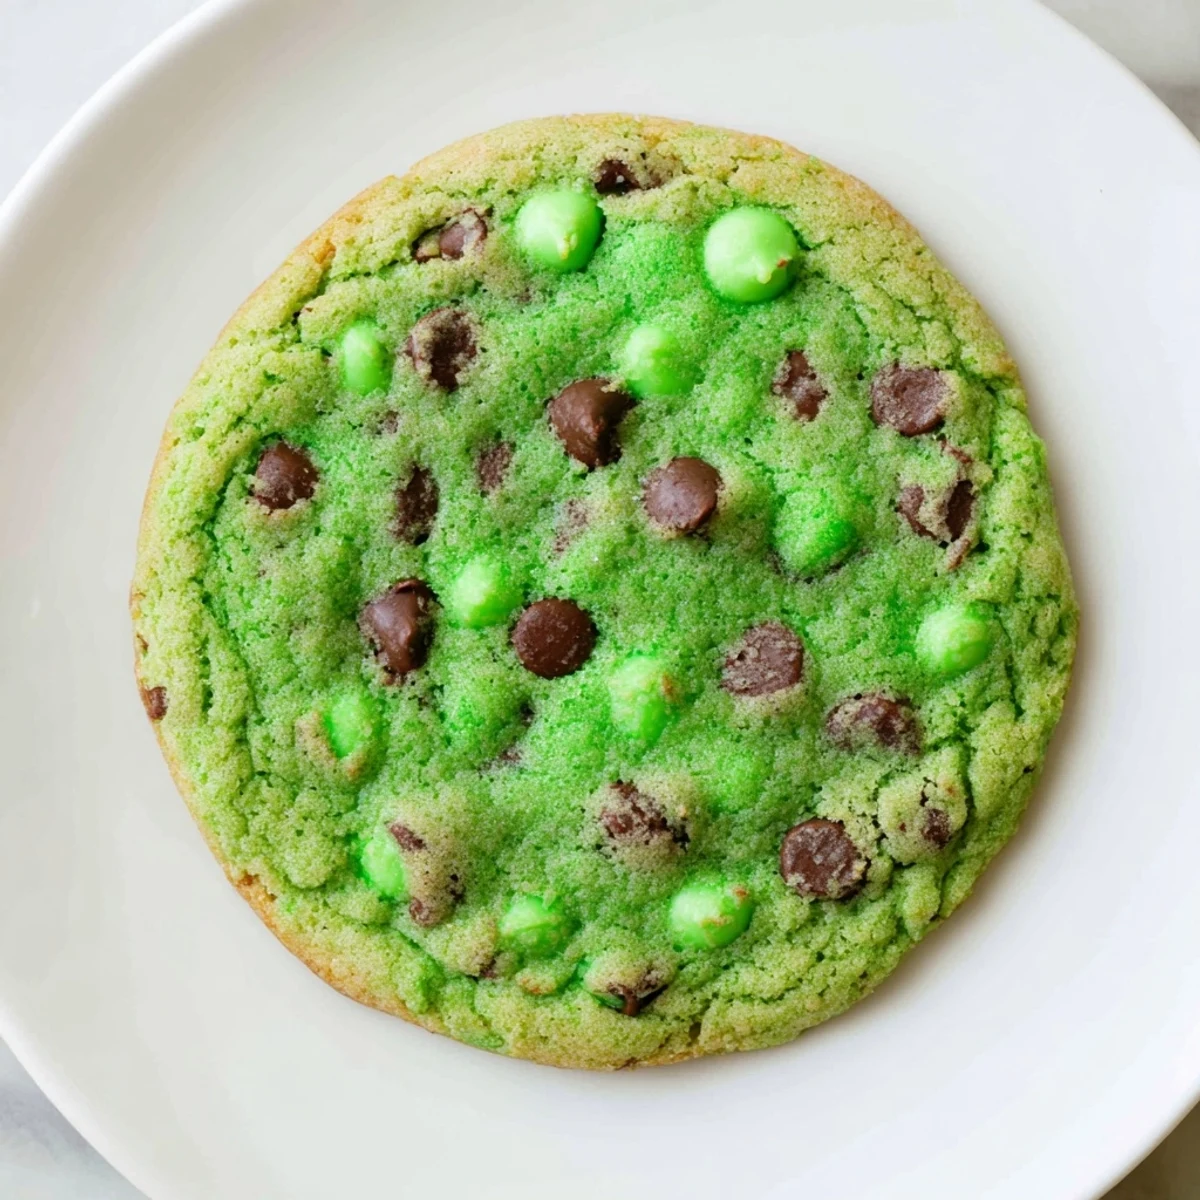
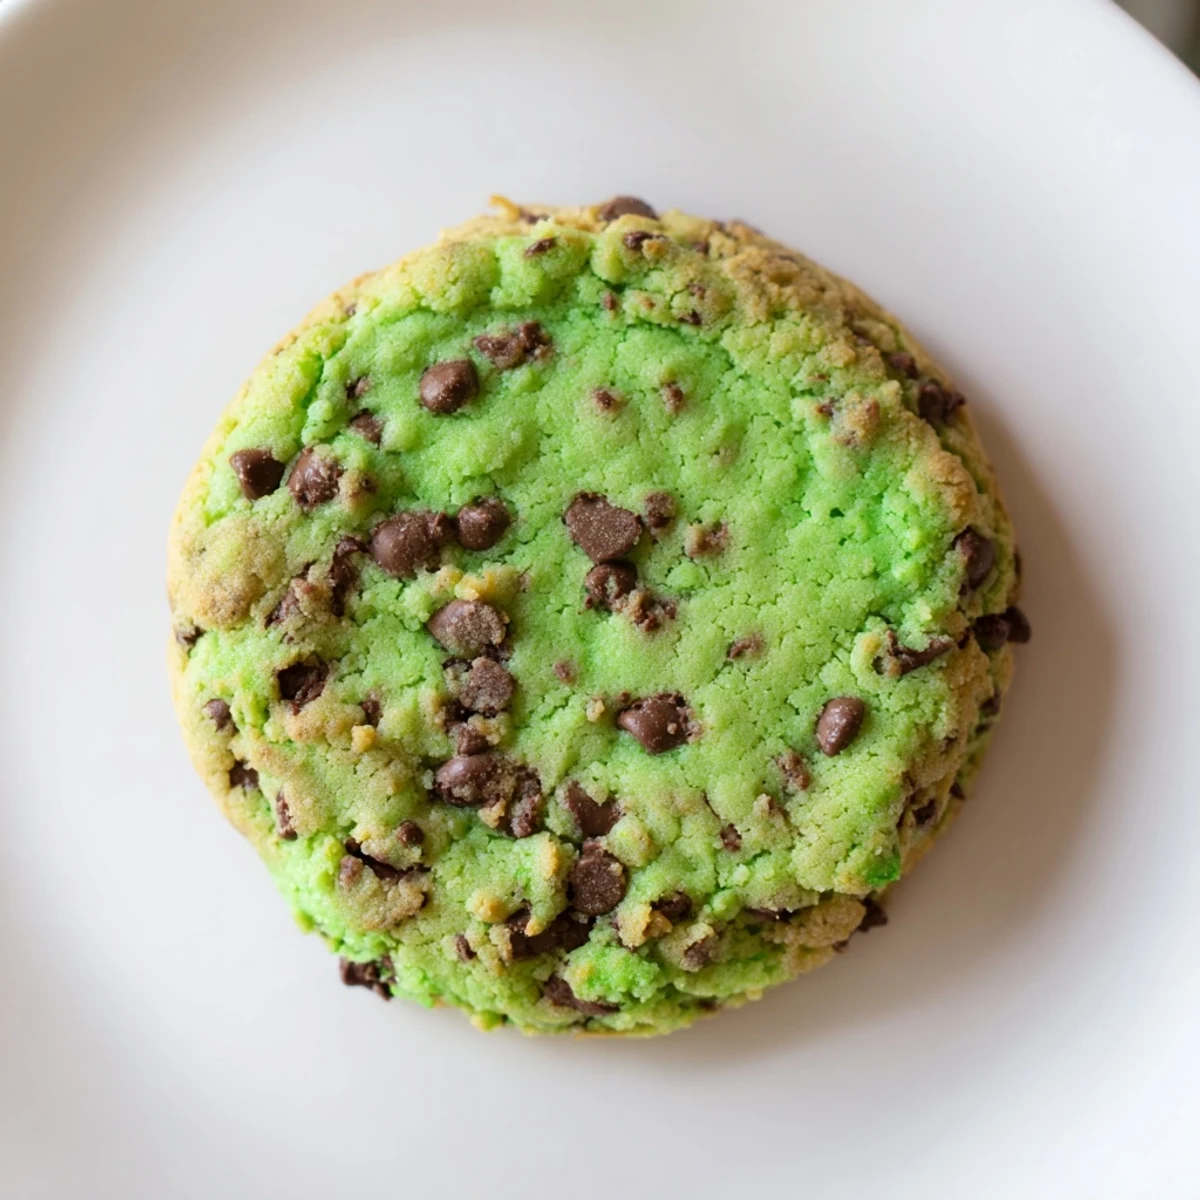
 These vibrant green cookies blend a refreshing mint flavor with rich chocolate chips for a soft, chewy texture. The dough combines softened butter, sugars, and mint extract with a hint of vanilla, colored naturally with green gel. Baking until edges set while centers remain tender produces a delightful balance. Optional mint chocolate chips add an extra layer of minty sweetness. Ideal for festive gatherings or casual snacking, these cookies can be stored airtight for several days without losing freshness.
My kitchen smelled like a field of fresh mint the first time I made these cookies. I had bought mint extract for a holiday recipe and suddenly found myself wondering what would happen if I just went all in on the mint flavor. The result was these startling green cookies that my sister still talks about every time she visits.
I brought these to a St. Patricks Day party years ago and watched them disappear in under fifteen minutes. Someone actually asked where I bought them, which I consider the highest compliment possible. Now they are my go-to whenever I need something that feels festive without requiring any special techniques.
Ingredients
- All-purpose flour: The structure builder here, measuring correctly by weight or the spoon and level method makes all the difference in texture
- Baking soda: This is what gives the cookies their gentle rise and spread, creating that perfect chewy center
- Salt: Do not skip this, it balances the sweetness and makes the mint flavor sing
- Unsalted butter: Room temperature butter creates the perfect creamed base for soft cookies, not melted which would make them thin
- Granulated sugar: Provides structure and helps the edges crisp up beautifully while staying soft inside
- Packed light brown sugar: The secret to moisture and that irresistible chewy texture
- Large eggs: Bind everything together while adding richness
- Pure mint extract: This is the star, use pure extract not imitation for the best flavor
- Pure vanilla extract: Supports the mint and adds depth, do not use imitation
- Green gel food coloring: Gel coloring gives you that vibrant mint green without thinning your batter like liquid would
- Semi-sweet chocolate chips: Classic chocolate flavor that complements rather than competes with the mint
- Mint chocolate chips: Optional but they add extra mint flavor pockets that my family fights over
Instructions
- Get your oven ready:
- Preheat your oven to 350°F and line two baking sheets with parchment paper. This small step saves you so much cleanup later and prevents sticking.
- Mix your dry ingredients:
- Whisk together flour, baking soda, and salt in a medium bowl. Setting this aside beforehand means you will not have to stop mid mixing to measure ingredients.
- Cream your butter and sugars:
- Beat softened butter with both sugars until light and creamy. This usually takes about two minutes and creates air pockets that make cookies tender.
- Add eggs and flavorings:
- Add eggs one at a time, beating well after each one. Then mix in your mint extract, vanilla extract, and green food coloring until the batter is evenly colored.
- Combine everything:
- Gradually add the dry ingredients to your wet mixture. Mix just until you no longer see flour streaks because over mixing makes tough cookies.
- Add the chocolate:
- Fold in both types of chocolate chips by hand. This gentle folding keeps your chips from breaking and distributes them evenly throughout the dough.
- Scoop and space:
- Drop heaping tablespoons of dough onto prepared baking sheets. Leave about two inches between cookies because they spread and need room to breathe.
- Bake to perfection:
- Bake for 9 to 11 minutes. You want edges that look set but centers that still appear slightly soft, they will continue cooking on the hot baking sheet.
- Cool completely:
- Let the cookies rest on the baking sheet for five minutes before moving them. This patience step is hard but makes them easier to handle and improves texture.
 Pin It
 My niece started calling these her lucky cookies after getting an A on a test the day I packed some in her lunch. Now whenever she has something important coming up, I get a text asking if the lucky green cookies are coming.
Making Them Your Own
Sometimes I swap white chocolate chips for the semi-sweet ones when I want something even sweeter. The white chocolate against the green dough looks almost festive enough for a holiday centerpiece, and the flavor combination is unexpectedly sophisticated.
Timing Your Bake
I have learned that every oven bakes differently. My old oven needed the full eleven minutes while my new one finishes perfectly at nine. Check at the minimum time and use your judgment rather than strictly following the timer.
Storage Secrets
These stay soft for days if stored properly, which is more than I can say for most cookie recipes. An airtight container is non negotiable if you want to maintain that fresh baked texture. I have also found that placing a slice of bread in with the cookies keeps them soft even longer.
- Layer parchment paper between stacked cookies to prevent sticking
- Room temperature storage is best unless you plan to keep them longer than a week
- These freeze well for up to three months if you wrap them tightly
 Pin It
 There is something joyful about biting into a cookie that tastes like fresh mint and looks like spring arrived early in your kitchen.
Recipe Questions & Answers
- → What gives the cookies their vibrant green color?
-
Green gel food coloring is used to create the vivid green shade without altering the cookie's texture.
- → Can I increase the mint flavor intensity?
-
Yes, adding more mint extract or using all mint chocolate chips boosts the refreshing mint profile.
- → How do I avoid overbaking for a soft center?
-
Bake until edges are set but centers remain slightly soft, usually 9 to 11 minutes, then cool on baking sheets.
- → Are there alternatives to semi-sweet chocolate chips?
-
You can use milk or dark chocolate chips depending on preferred sweetness, or mix in mint-flavored chips for added flair.
- → What tools are essential for making these cookies?
-
Mixing bowls, an electric or stand mixer, measuring tools, whisk, baking sheets lined with parchment, a cookie scoop, and a wire rack are helpful.