 Pin It
 This glossy sugar cookie icing comes together in just 10 minutes using basic pantry ingredients like powdered sugar, milk, corn syrup, and vanilla. The corn syrup creates that signature sheen while helping the topping dry to a smooth, firm finish that won't smear when stacked. Adjust the consistency by adding more milk for a thinner glaze or extra powdered sugar for detailed piping work. The mixture yields about one cup, enough to decorate two dozen cookies, and can be colored with gel or liquid food coloring for festive designs. Leftovers keep refrigerated for up to a week.
The first time I made cookie icing, I stood over a mixing bowl at 11pm, watching powdered sugar swirl into a cloud that coated my glasses and the counter. I'd promised my daughter decorated cookies for her class party the next morning, and every recipe seemed either too complicated or produced something that never set. This simple mixture of sugar, milk, and corn syrup became my saving grace—glossy, firm, and exactly what a tired parent needs in their back pocket.
Last Christmas, my kitchen looked like a confetti explosion. I'd set up three bowls of different colors and invited my nieces over to decorate sugar cookies. They dipped and drizzled with such enthusiasm that even the dog ended up with a blue dot on his nose. Seeing them proudly stack their creations on paper plates, each cookie unique and imperfectly perfect, reminded me why I keep coming back to this recipe year after year.
Ingredients
- 2 cups powdered sugar, sifted: Sifting prevents lumps that would clog your piping tips or create bumpy surfaces on finished cookies
- 2 to 3 tablespoons milk: Start with less and add gradually, temperature and humidity affect how much liquid you need
- 1 tablespoon light corn syrup: This is the secret ingredient that creates that professional glossy finish and helps the icing set properly
- 1/2 teaspoon pure vanilla extract: Use the good stuff here since the flavor shines through in such a simple icing
- Food coloring: Gel colors produce more vibrant shades with less liquid, which keeps your consistency perfect
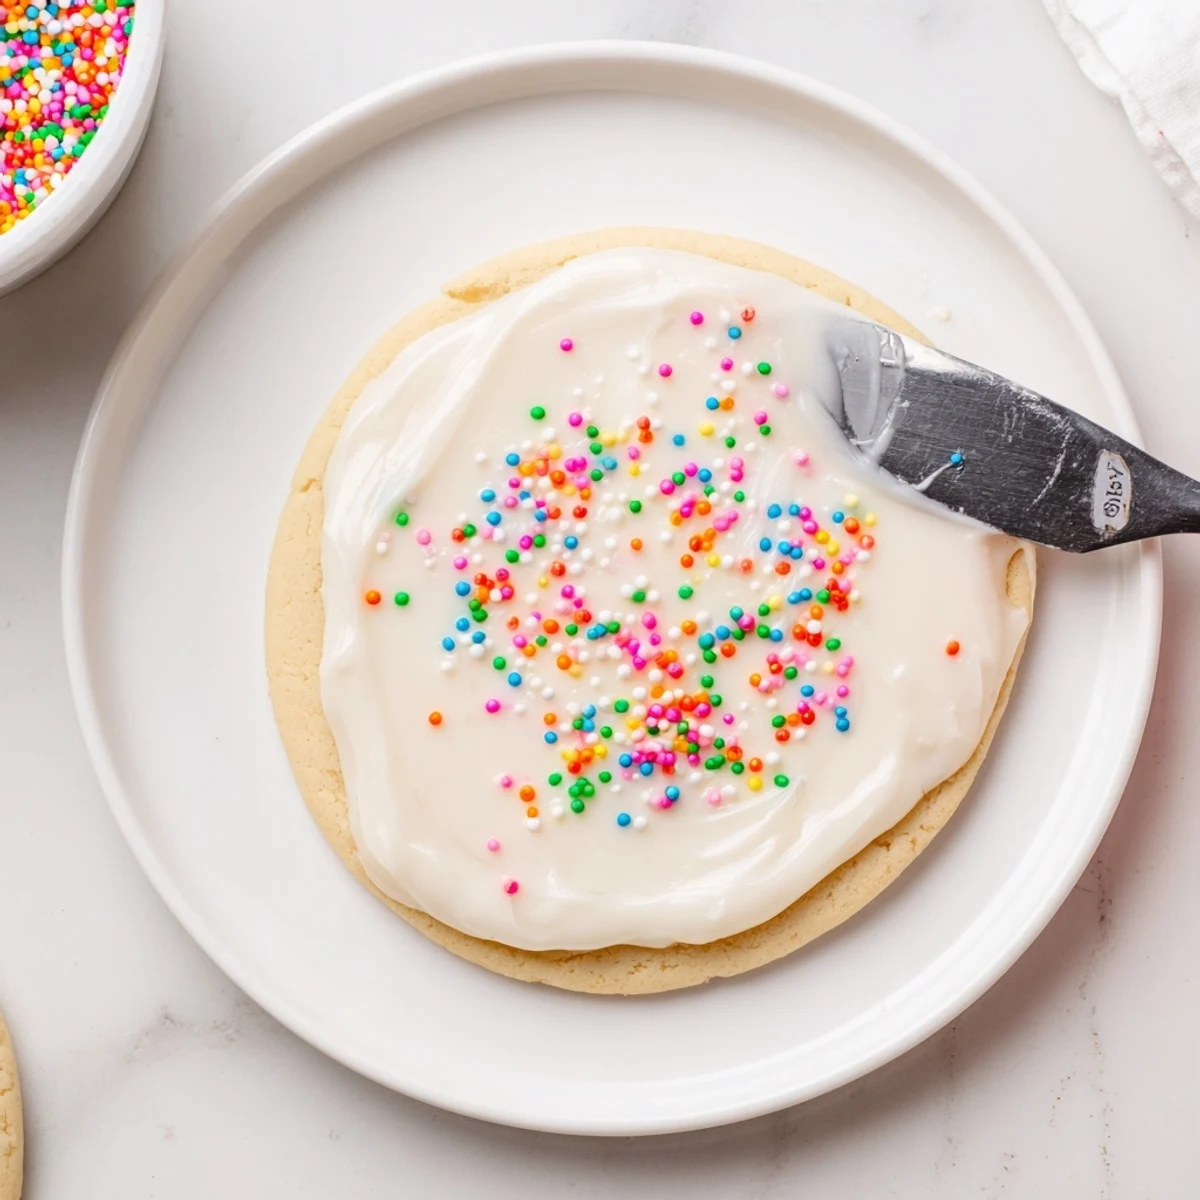
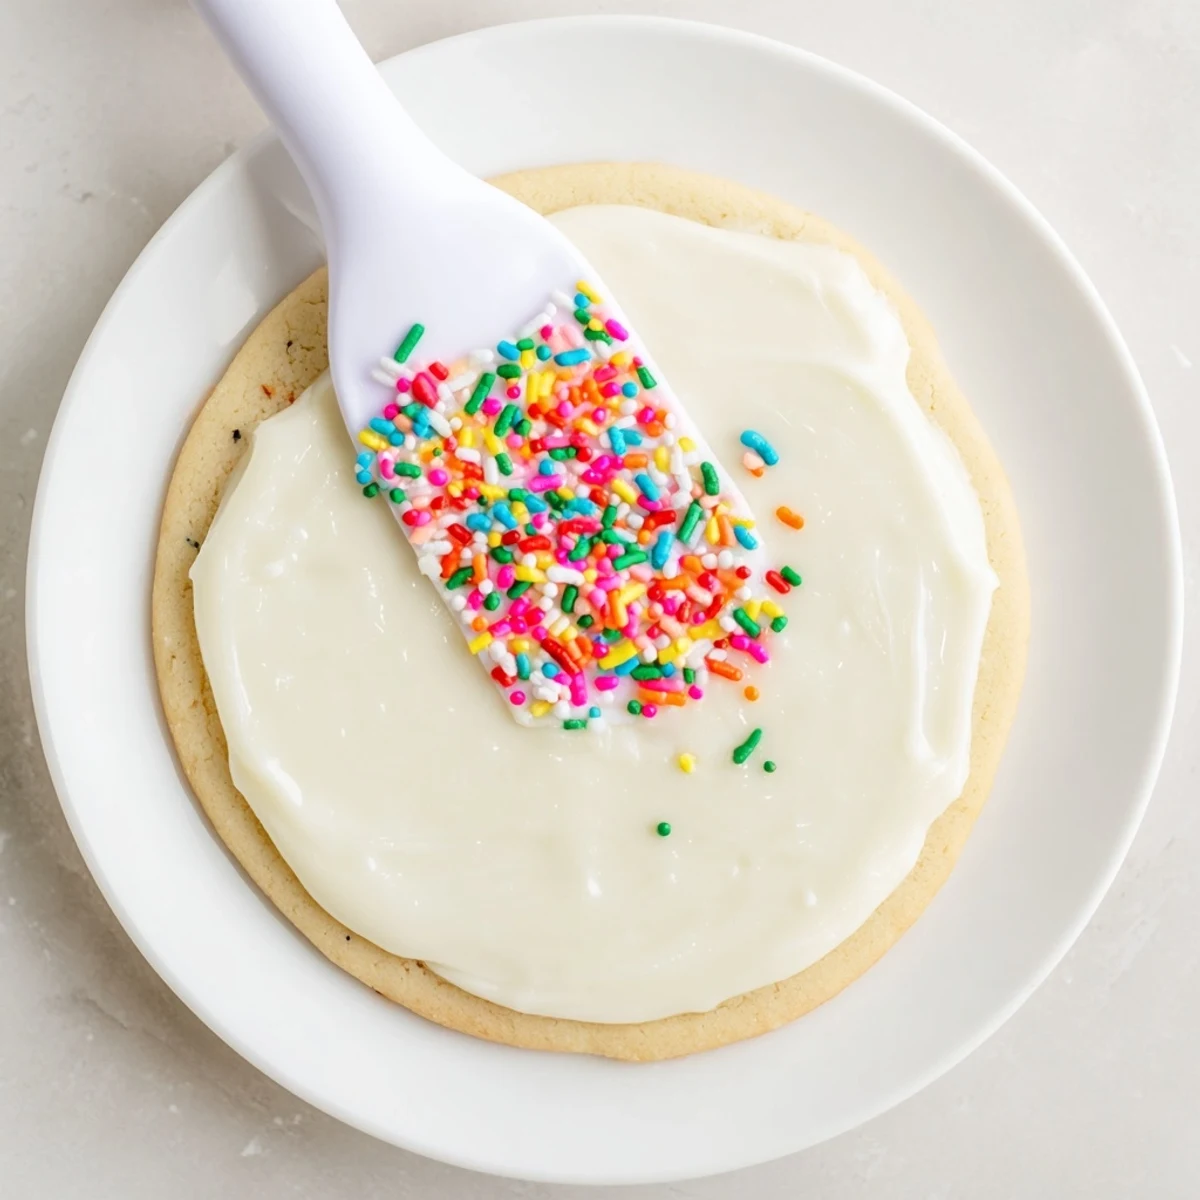
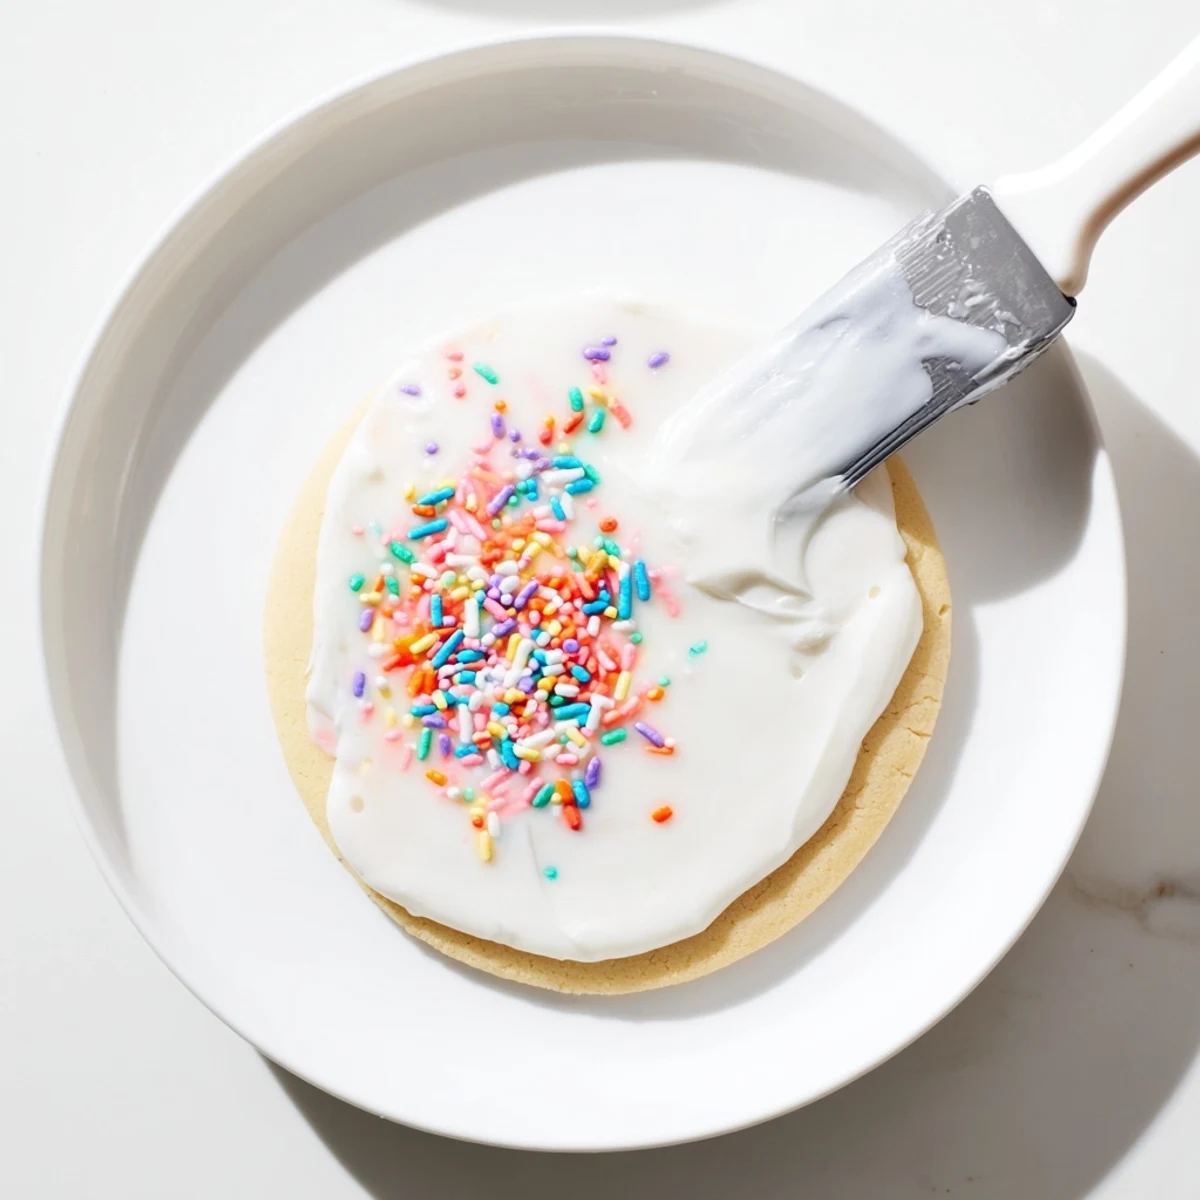
- Sprinkles or colored sugars: Add these immediately after icing while its still wet so they adhere properly
Instructions
- Mix your base:
- Whisk together the powdered sugar, 2 tablespoons milk, corn syrup, and vanilla in a medium bowl until completely smooth and glossy
- Adjust the consistency:
- Add more milk, just 1/2 teaspoon at a time, if the icing is too thick to pour or pipe easily
- Add color if desired:
- Divide icing into separate bowls for multiple colors and stir in food coloring drop by drop until you reach your desired shade
- Decorate your cookies:
- Work quickly while the icing is fresh—dip cookie tops, spread with a small knife, or pipe designs onto cooled cookies
- Let them set completely:
- Leave decorated cookies undisturbed at room temperature for at least 4 hours or overnight for the icing to dry firm
 Pin It
 My neighbor Mrs. Henderson, who's been baking longer than I've been alive, told me her trick for testing icing consistency. She dips a spoon into the bowl and watches how the ribbon of icing settles back into the mixture—taking about 10 seconds to disappear completely means it's perfect. That small bit of wisdom saved me from countless batches of either runny or rock-hard decorations.
Getting the Right Consistency
For flooding cookies and covering entire surfaces, aim for a consistency similar to warm honey. If you want to pipe borders, dots, or lettering, thicken the same icing by stirring in additional sifted powdered sugar, about 1 tablespoon at a time, until it holds its shape when piped.
Flavor Variations
Beyond vanilla, try swapping in almond extract for a nutty depth, lemon extract for brightness, or even peppermint during winter holidays. Just remember that extracts can vary in potency, so start with a quarter teaspoon and taste as you go.
Storage and Make-Ahead Tips
This icing keeps remarkably well, which means you can make it days before your baking marathon. Store in an airtight container in the refrigerator for up to a week, then bring to room temperature and stir vigorously before using. If it separates, a quick whisk brings it back to life.
- Always ice completely cooled cookies or the icing will melt into the dough
- Have a damp paper towel nearby to wipe piped tips immediately if switching colors
- Work in small batches since the icing begins forming a skin after about 30 minutes
 Pin It
 There's something deeply satisfying about pulling out a box of decorated cookies from the pantry, each one still perfect days later, and knowing they were made with your own hands and a little bit of midnight determination.
Recipe Questions & Answers
- → How long does the icing take to dry completely?
-
Allow decorated cookies to dry at room temperature for at least 4 hours. For best results, let them set overnight before stacking or storing to ensure the icing is completely firm.
- → Can I make this icing ahead of time?
-
Yes, store leftover icing in an airtight container in the refrigerator for up to 1 week. Before using, bring it to room temperature and stir well. You may need to add a few drops of milk to restore the proper consistency.
- → What's the purpose of corn syrup in this recipe?
-
Corn syrup creates the glossy shine and helps the icing dry smooth and firm. It also prevents crystallization, keeping the texture consistent. For an extra shiny finish, increase to 1.5 tablespoons.
- → Can I use something other than milk?
-
Yes, any liquid works including water, non-dairy milk alternatives like almond or oat milk, or even fruit juice for a subtle flavor twist. Start with less and adjust until you reach the desired pourable consistency.
- → How do I get the right consistency for piping versus flooding?
-
For flooding or spreading, aim for thick honey consistency that slowly flattens when dripped from a spoon. For detailed piping borders, add more powdered sugar until the mixture holds its shape like toothpaste. Adjust gradually as needed.
- → Why must cookies be cooled before icing?
-
Warm cookies will melt the icing, causing it to slide off and lose definition. Always let baked goods cool completely on a wire rack before decorating to ensure the topping sets properly and maintains your designs.