 Pin It
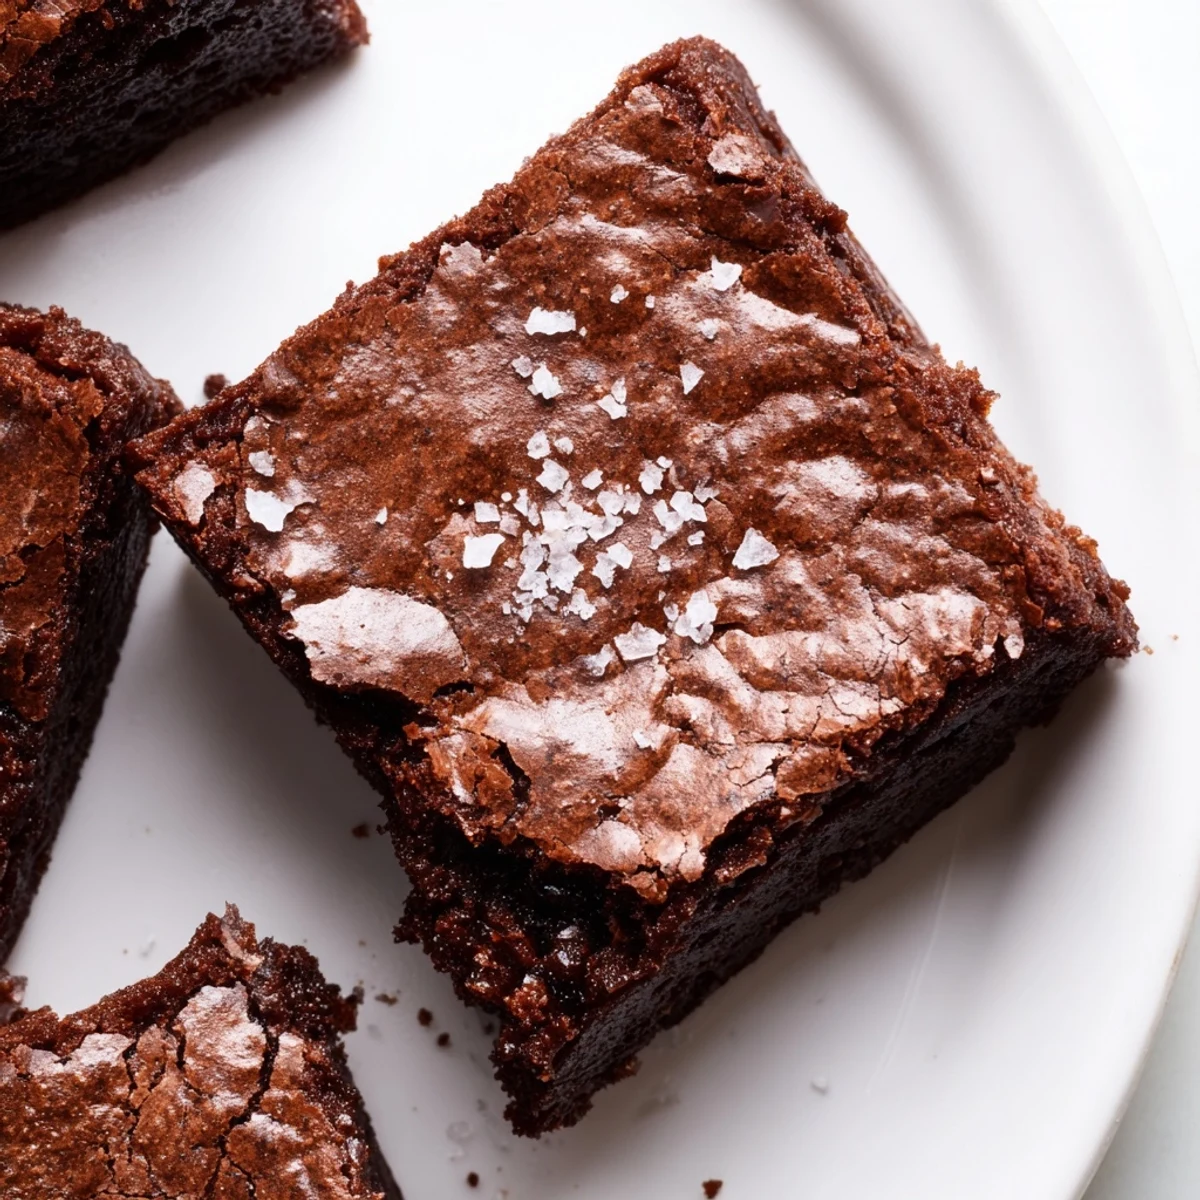
 These brownies combine the best of American and Japanese dessert traditions. The brown butter adds a nutty depth that complements the bittersweet chocolate, while sweet rice flour creates that signature chewy mochi texture. Perfect for those seeking a gluten-free treat with exceptional fudginess.
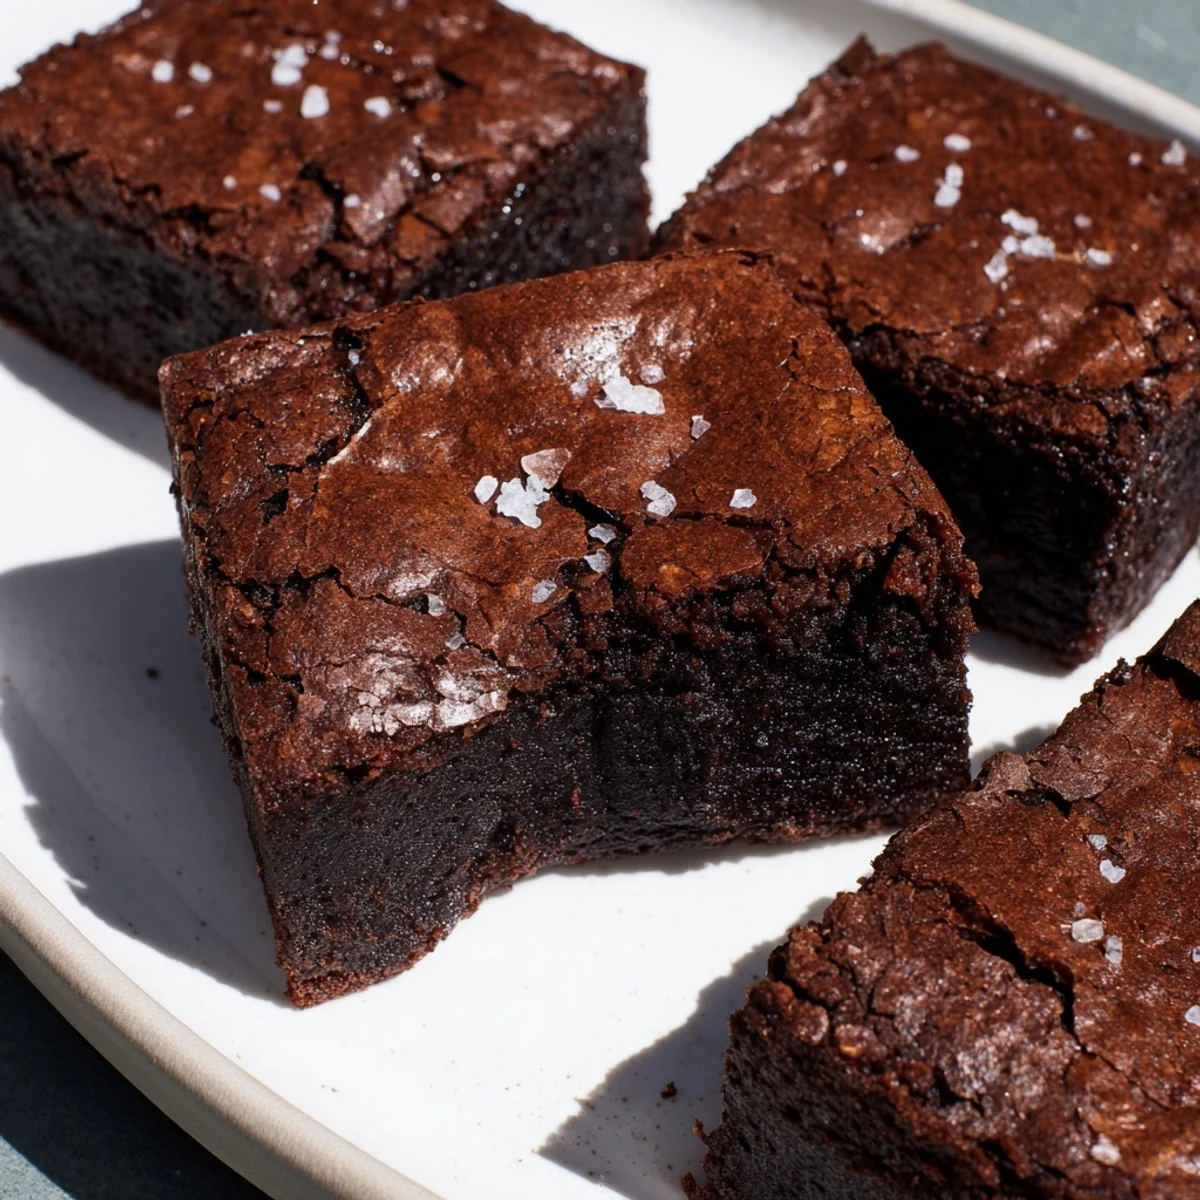
The result is a dense, rich square that's simultaneously crispy on top, chewy throughout, and incredibly satisfying. Each bite delivers intense chocolate flavor with subtle caramel notes from the browned butter.
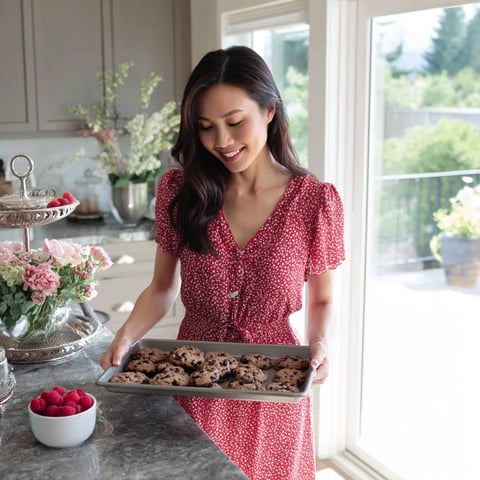
The smell of brown butter bubbling on the stove still takes me back to my tiny apartment kitchen, where I accidentally discovered what happens when you let butter go just past melted. Those golden brown bits changed everything I thought I knew about baking. Now I cannot imagine making these mochi brownies without that nutty, toasted aroma filling the whole house.
I brought these to a potluck last summer, right after my friend Sarah had returned from Tokyo and was raving about all the mochi she had there. She took one bite, eyes went wide, and immediately asked for the recipe. Watching everyone debate whether these counted as brownies or mochi was the highlight of the evening. The pan was empty within twenty minutes.
Ingredients
- Sweet rice flour (mochiko): This is what gives the brownies their signature chewy texture. Regular rice flour will not work the same way, so make sure you are getting the right kind.
- Unsweetened cocoa powder: Do not skimp here. Good quality cocoa makes all the difference in getting that deep, intense chocolate flavor we want.
- Baking powder: Just enough to give these a little lift without losing that dense, fudgy quality.
- Kosher salt: Balances the sweetness and makes all the chocolate flavors sing.
- Unsalted butter: We are browning this ourselves, which creates those incredible toasty notes. Starting with unsalted butter lets us control the salt level.
- Granulated and brown sugar: The combo gives us crisp edges and a soft, fudgy center. Brown sugar adds moisture and a hint of caramel.
- Eggs: Room temperature eggs incorporate better and help create that smooth, uniform texture.
- Vanilla extract: Do not underestimate how much this enhances the chocolate and brown butter flavors.
- Whole milk and heavy cream: The dairy combination keeps these moist while contributing to that irresistible chew.
- Bittersweet chocolate: Chopping a bar instead of using chips gives you better melting and more intense chocolate pockets throughout.
Instructions
- Brown the butter:
- Melt the butter in a small saucepan over medium heat, swirling occasionally until it foams and turns golden brown with a nutty aroma, about 4 to 6 minutes. Pour it immediately into a large bowl to stop the cooking.
- Melt the chocolate:
- Add the chopped chocolate to the hot brown butter and stir until completely smooth and glossy.
- Combine the sugars:
- Whisk in both sugars until no lumps remain and the mixture looks glossy and thick.
- Add the eggs:
- Beat in the eggs one at a time, making sure each is fully incorporated before adding the next. Stir in the vanilla.
- Mix the dry ingredients:
- In a separate bowl, whisk together the sweet rice flour, cocoa powder, baking powder, and salt until evenly combined.
- Combine everything:
- Add half the dry ingredients to the wet mixture and stir until just combined, then pour in the milk and heavy cream. Add the remaining dry ingredients and fold gently until no streaks remain.
- Bake to perfection:
- Pour the batter into your prepared pan and smooth the top. Bake for 40 to 45 minutes until the top is set and a toothpick comes out with a few moist crumbs.
- Cool completely:
- This is the hard part. Let these cool completely in the pan before slicing. They need that time to set properly for the perfect texture.
 Pin It
 My grandmother, who is Japanese and traditionally skeptical of fusion desserts, tried these reluctantly at a family gathering. She asked for seconds and then quietly asked me to write down the recipe for her. Now she makes them for her bridge club, who apparently cannot stop talking about the chocolate mochi hybrids.
Getting the Brown Butter Right
The trick to perfect brown butter is paying attention to the color change. It goes from yellow to golden to that perfect amber brown with little specks. Those specks are where all the flavor lives. Once you smell that nutty aroma, get it off the heat immediately. It can go from perfect to burnt in seconds.
Pan Preparation Matters
I learned the hard way that parchment paper overhang is not optional. These brownies are sticky when warm, and trying to get them out of the pan without that paper handle is a mess. Leave plenty of overhang on two sides so you can lift the whole batch out easily once cooled.
Serving Suggestions
These are incredible on their own, but a scoop of vanilla ice cream while they are still slightly warm is pretty much dessert perfection. The cold cream against the warm, chewy chocolate is magic.
- Sprinkle flaky sea salt on top right before baking for that sweet and salty contrast
- Fresh berries cut through the richness beautifully if you want something lighter
- A dusting of powdered sugar makes them look extra fancy for serving
 Pin It
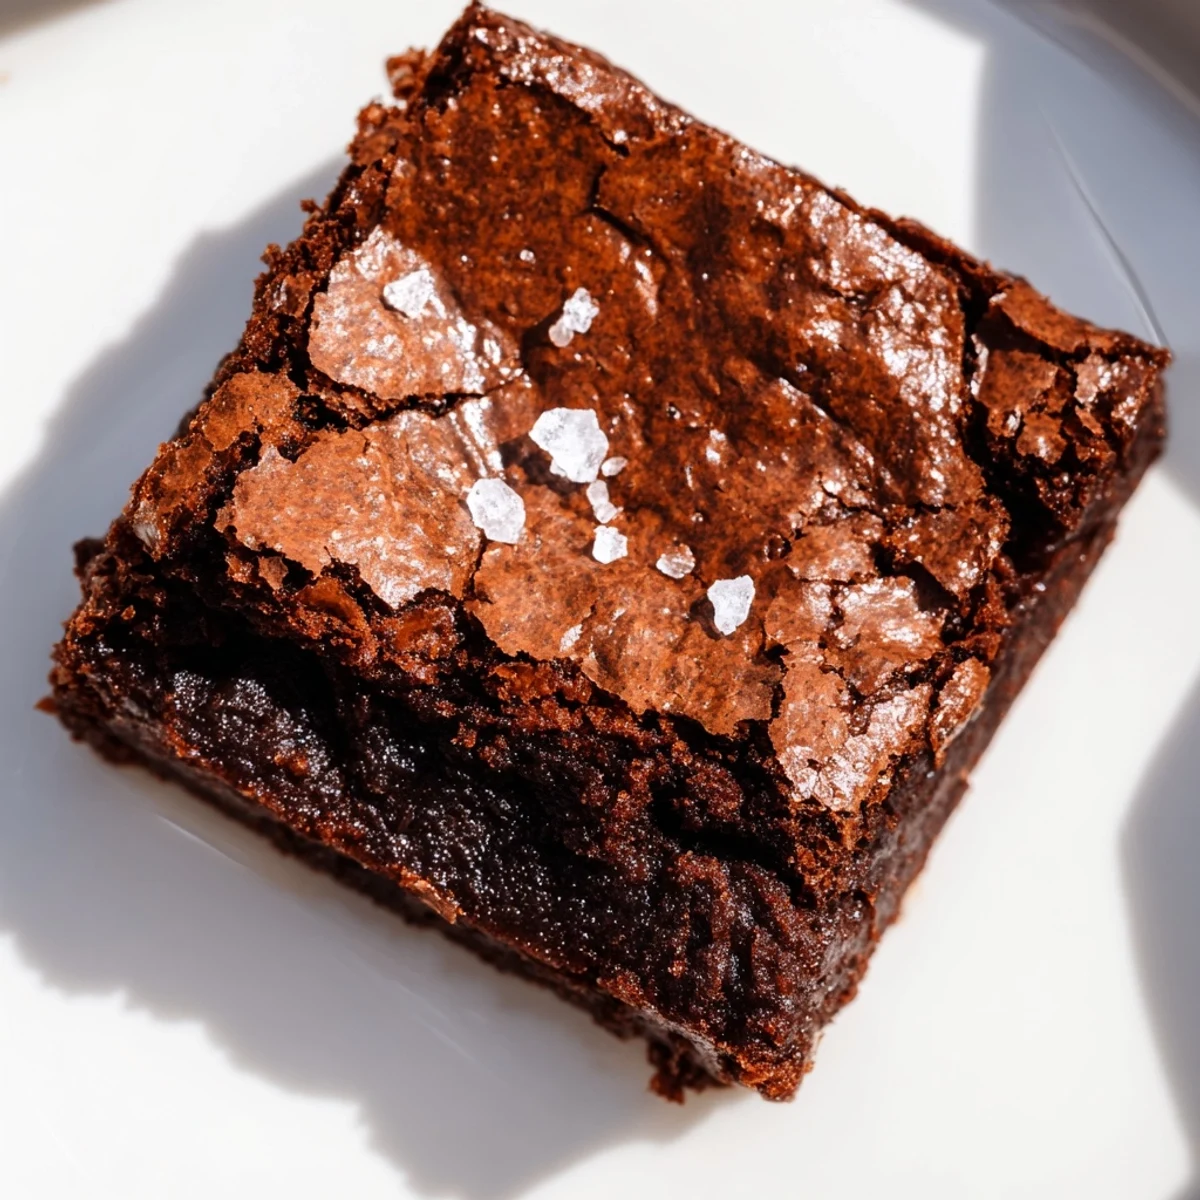
 There is something so satisfying about cutting through that slightly crisp top into the chewy, fudgy center beneath. These have become my go-to for whenever I need to bring something that wows a crowd but does not take all day to make.
Recipe Questions & Answers
- → What makes these brownies chewy?
-
Sweet rice flour (mochiko) creates the signature chewy texture. Unlike wheat flour, glutinous rice flour develops a delightfully elastic consistency when baked, giving these brownies their distinctive mochi-like bite.
- → Can I use regular cocoa powder?
-
Yes, unsweetened cocoa powder works perfectly. Dutch-processed or natural cocoa both deliver excellent chocolate flavor. The key is whisking it thoroughly with the dry ingredients to ensure even distribution.
- → Why brown the butter first?
-
Browning butter removes water content and creates toasty, nutty flavor compounds through the Maillard reaction. This adds depth and complexity that pairs beautifully with dark chocolate and enhances the overall richness.
- → How do I know when they're done baking?
-
The edges should be set and slightly pulling away from the pan, while the center may still look slightly underdone. A toothpick inserted in the center should come out with a few moist crumbs, not wet batter. They continue firming as they cool.
- → Can I make these dairy-free?
-
Substitute vegan butter for regular butter and use coconut cream or plant-based milk alternatives. The texture and flavor will be slightly different but still delicious. Choose high-quality dairy-free chocolate chips or chopped chocolate.
- → How should I store these brownies?
-
Keep in an airtight container at room temperature for up to 3 days. For longer storage, refrigerate for up to a week. The texture becomes even chewier after chilling. Bring to room temperature before serving for best flavor.